

The November theme for the Art Elements design challenge was “mushrooms and toadstools” which is one I’ve been hoping for since I don’t know when. I love mushrooms and toadstools as design elements and art themes. There’s a tremendous diversity in wild mushrooms and then there are “fantasy” mushrooms from imagination. Tragically, I was in some kind of creative funk this month and didn’t do the theme justice. (note that this post, for reasons i don’t understand, didn’t publish in November, or somehow disappeared, so I’m re-posting in December.)
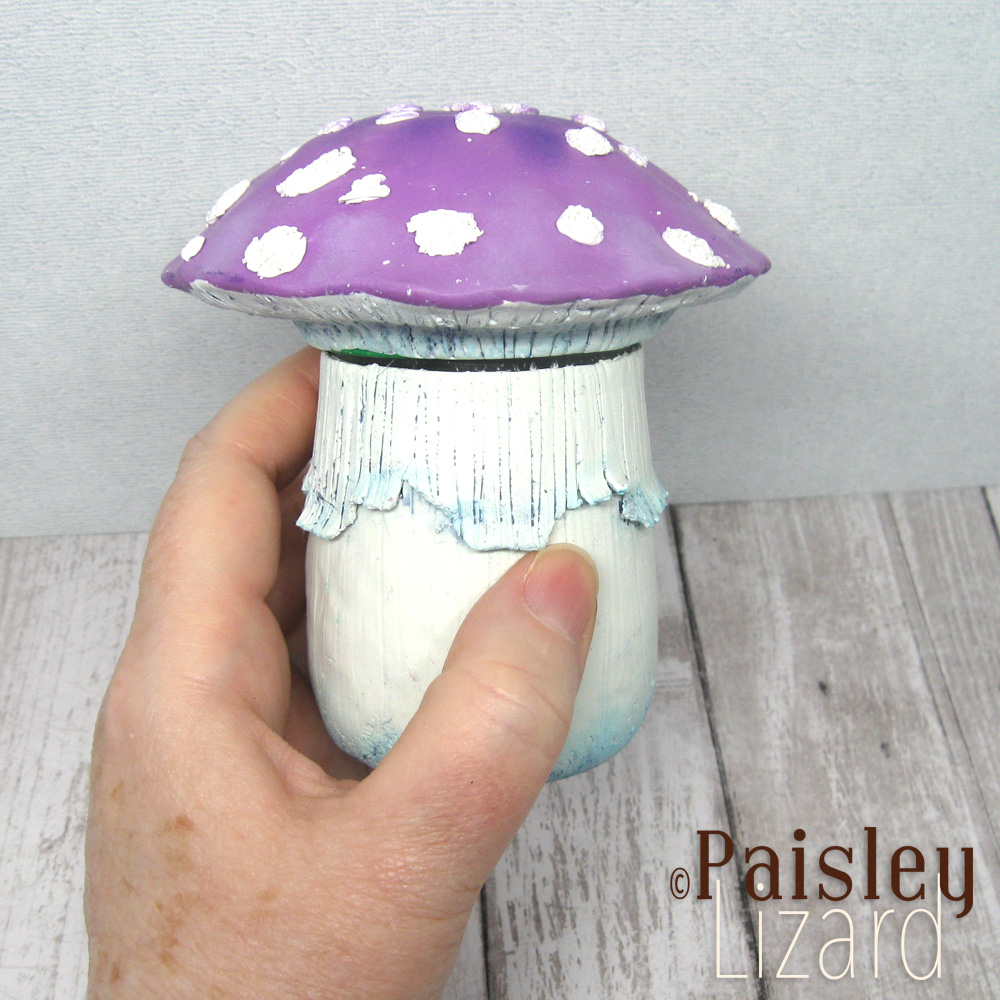
The first thing I made was a little fantasy mushroom jar. I was thinking I would make a mushroom fairy house but as I was sculpting the mushroom over a re-purposed glass jar I ran out of steam. Knowing that I had many many jars to work with, I thought I’d leave this one simple and come back to the fairy house idea later in the month. Spoiler alert: I didn’t come back to it.

Turning a glass jar into a mushroom by way of polymer clay is theoretically simple: just cover the jar with clay and shape it. Technically, that’s exactly what I did. But first, to save clay and minimize the weight of the lid/mushroom cap, I glued an armature onto the lid to be covered with clay. The armature is mostly crumpled aluminum foil, held together with bits of masking tape. The foil sits on a circle of cardboard that’s glued to the top of the lid.

The sculpting went more or less according to plan and it wasn’t until after I had cured the clay that I noticed a gap between the jar and the lid. The lids on these type of jars have just a few shallow threads and, as it turns out, fit differently every time you attach the lid. I wasn’t terribly upset about this flaw because I have more jars and was going to try again. And I’m sure I will, some day. Just not for this challenge.
A week went by after I completed the jar and I kept thinking I would embroider a mushroom or three. I happen to have a pattern for a red Amanita muscaria that I bought over a year ago when I started re-learning to embroider. Why didn’t I transfer the design to fabric and stitch away? Because I kept thinking I would come up with an original design. I did some image searches and saved some inspiration photos and then …nothing.
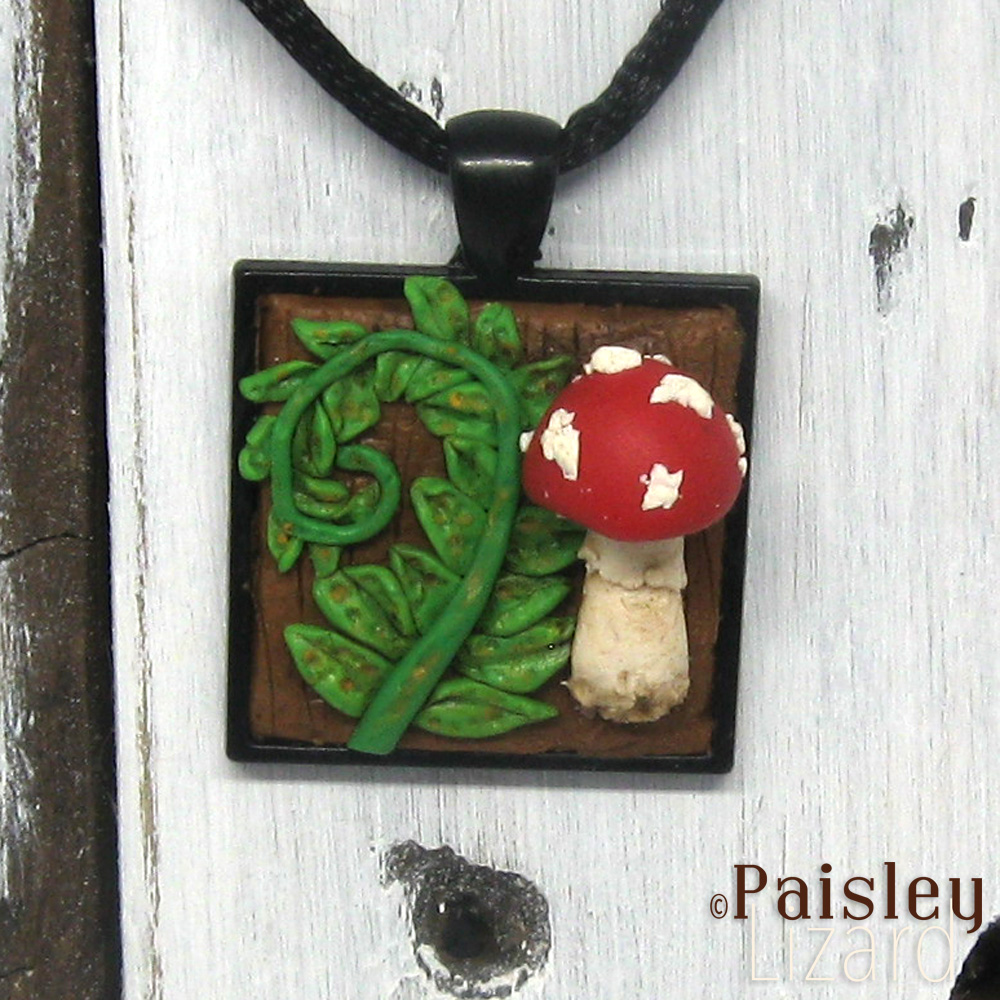
Near the end of the month, I forced myself back to the polymer clay table, determined to make that fairy house. But I just couldn’t make it happen. Instead, I made miniature mushrooms that turned into pendants.
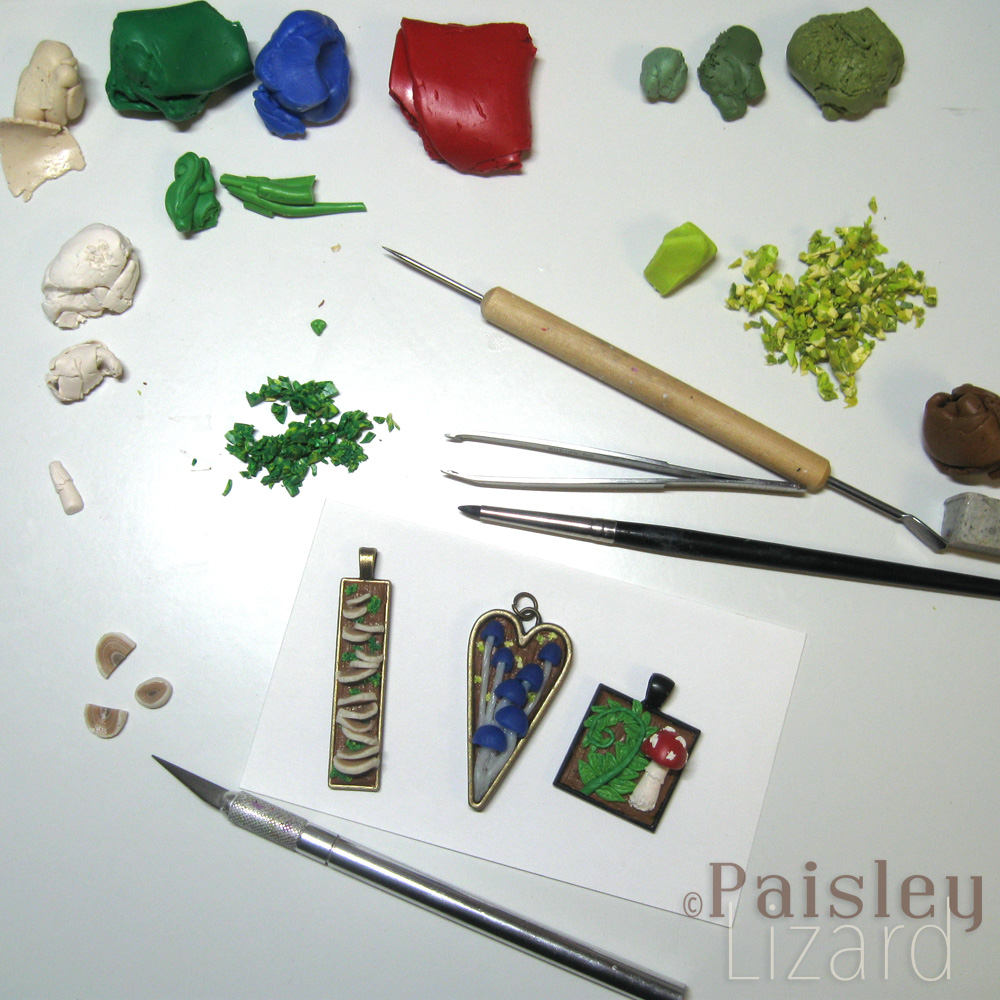
If you’ve ever worked with miniatures, you know how time consuming it can be to scale things down. You’d think making things smaller would take less time, but if you try to include any detail, it really doesn’t. Especially if you have stubby clumsy fingers like I do. I know that’s what the tools are for, to manipulate the clay into the teeny little shapes and spaces. But that too requires dexterity and I am still learning (via trial and error) how to use the tools instead of just my hands. Things get smushed and there is cursing.
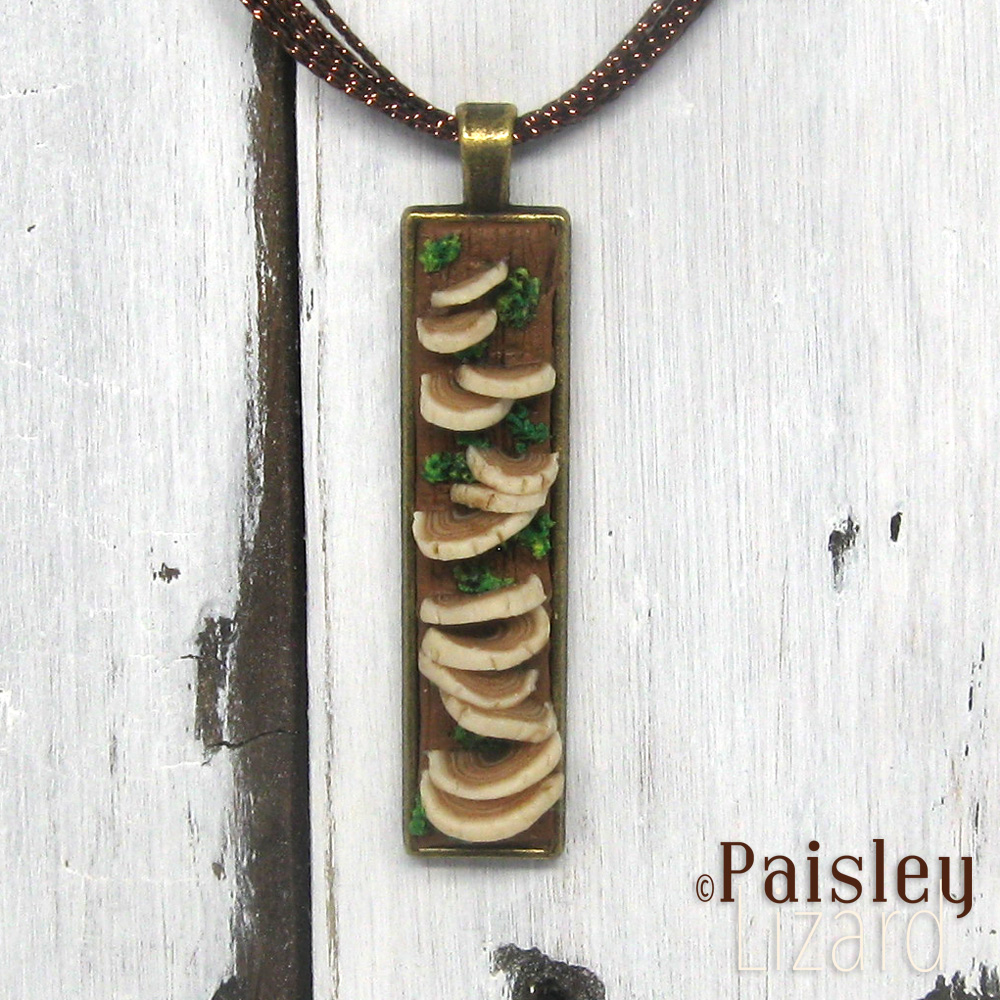
To make the miniature mushroom pendants I used metal pendant trays as background. Into the trays I added brown clay and gave it a bark texture. In hindsight, I spent more time on the background texture than was needed given how much of it got covered with mushrooms. Before putting the “bark” into the trays, I coated the interior with a layer of PVA glue. Because polymer clay does not bond to metal.
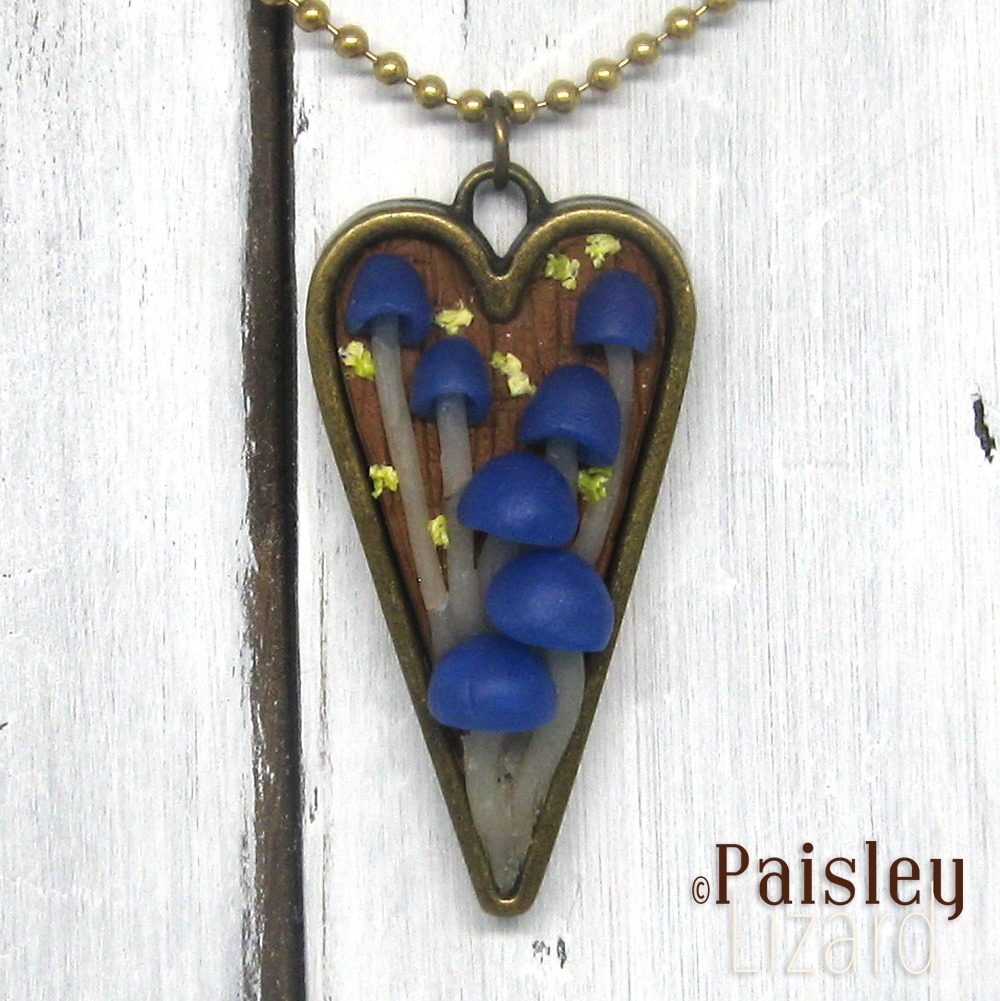
Making miniature mushrooms turned out to be a lot of fun. Almost as much fun as filling metal pendant trays with polymer clay things. Expect to see more polymer clay in pendant trays because this is my newest obsession. I have a small stash of these trays, bought for when I thought I would like resin. Turns out, I do not. And I think the feeling is mutual.
After completing the itty bitty mushroom pendants (which are available in my shop on etsy, btw) I still had time to make that fairy house, or embroider some mushrooms. Or both. I even had four days off from work that I could have used to be creative. But I did not. I read a few books. Baked cupcakes for my neighbor’s Friendsgiving dinner (which I didn’t attend because of the pandemic). Organized my kitchen cupboards, after the crapalanche that happened when digging out cupcake supplies.
I don’t know why my muse was in such a funk this month. It’s disappointing that it happened during such a great theme. Which is not to say I can’t make a mushroom fairy house or embroider some mushrooms any other time. And maybe I will. Thanks for stopping by today. Please leave a comment if the spirit moves you.
Even without your muse, you did a great job! “do art to keep away the dark”
Thanks so much, Debora. I think I need that statement on the wall in my studio. 🙂
I enjoyed your blog. We have all had Covid issues. It is interesting to read your take. I always love what you do and admire your creativity. Well done as always.
Thanks so much, Kathy. I do feel quite fortunate that the worst of my covid-issues have been things like not having enough art supplies.