
The theme for the Art Elements June design challenge was solstice. Here in the Northern Hemisphere, June is the month for the Summer Solstice. The Summer Solstice is heralded by many as the first day of summer. That’s not technically what solstice means, but I can’t seem to stop any of the people I know from referring to it that way. For the sake of accuracy, the Summer Solstice is the day on which the Sun reaches its northernmost point on the celestial sphere, resulting in the longest period of daylight (which some call the longest day) for those of us above the equator.
Astronomical technicalities aside, the Summer Solstice is also a major pagan holiday, Litha. Dancing around bonfires is a common Litha ritual, but I didn’t feel like setting fire inside my apartment and I don’t have an outdoor space to call my own for such things. There may have been some dancing. But there will be no sharing of photographic evidence of such activity here on this blog, or anywhere else. Not only do I dance like no one is watching, I only dance when no one is watching.
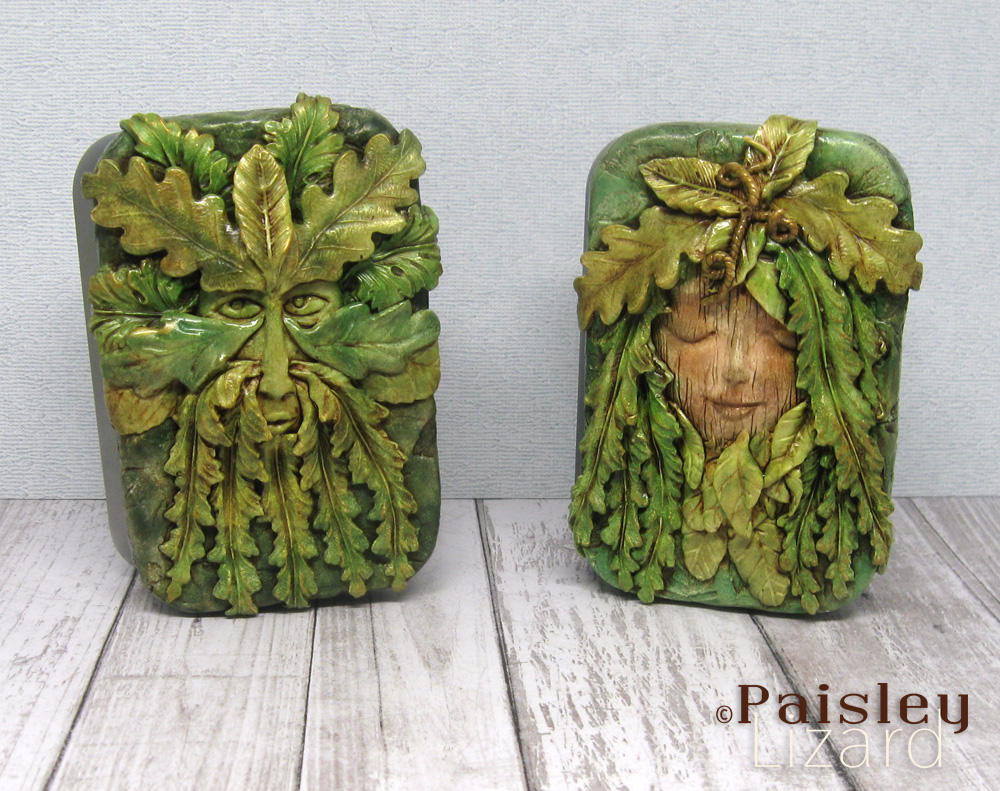
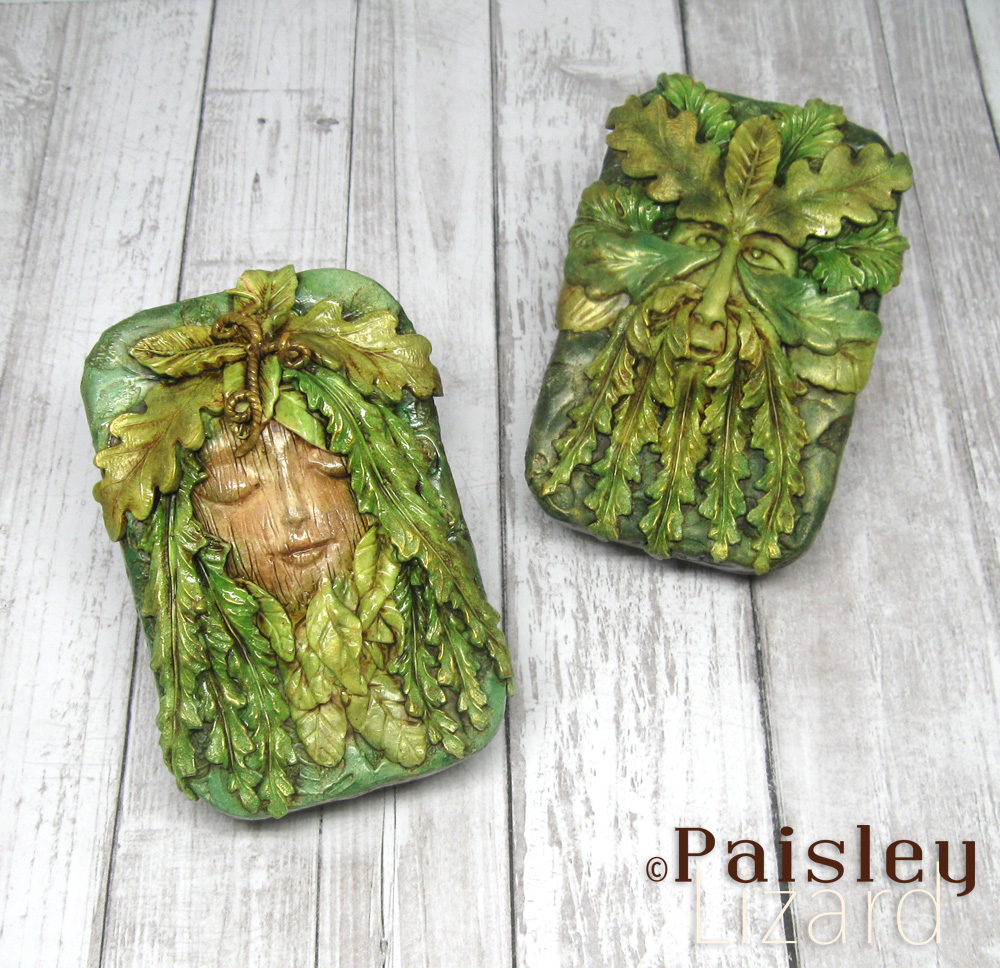
But seriously, the art challenge. One of the inspiration images shared on the AE blog was of the Green Man. I normally associate the Green Man with spring more than summer, but I’ve been wanting to make a Green Man sculpture and this seemed as good a time as any. I’ve also been binge-reading the October Daye urban fantasy novels by Seanan McGuire and was inspired by one of the recurring characters, April, a cyber-dryad whose tree is bonded to a mainframe. It’s a great story and you should definitely read the series. So my plan was to create a Green Man and Green Woman/Dryad.
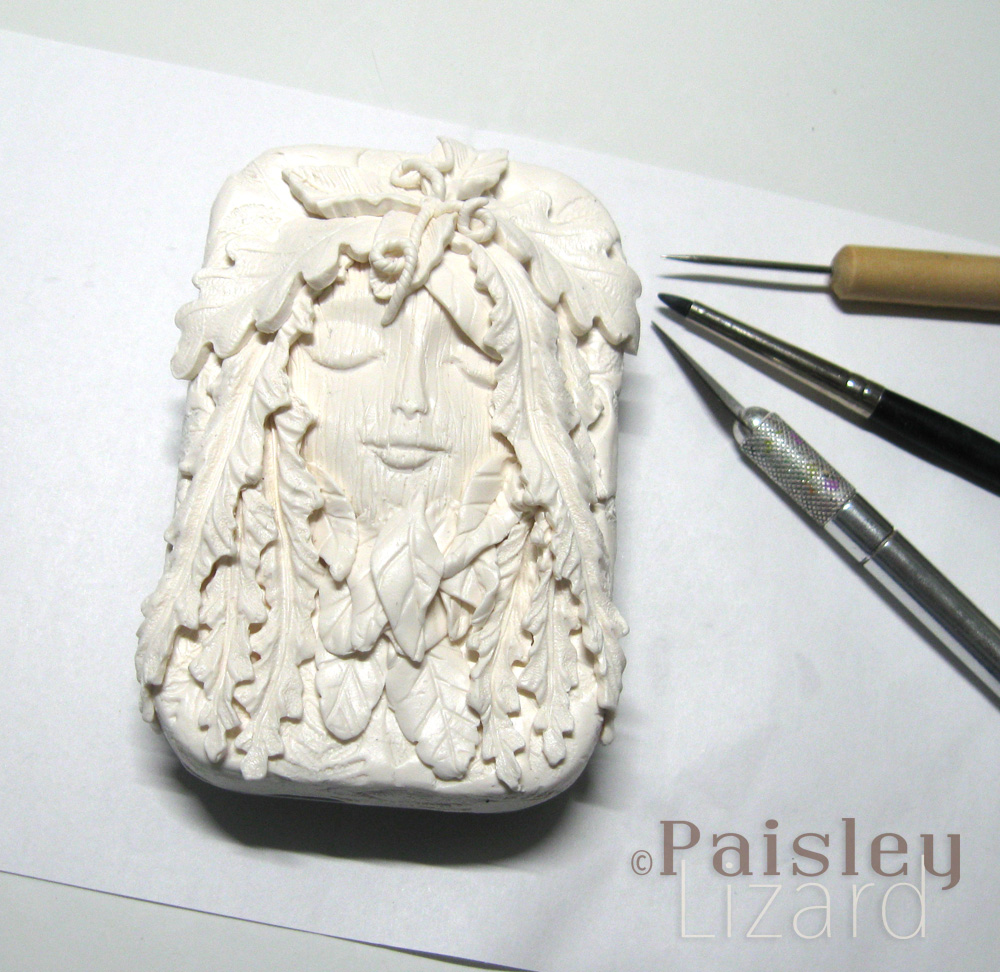
Using polymer clay, I worked on the dryad, or a Green Woman if you prefer, first. I used a hinged metal tin as the base for my tree nymph because I like to create “functional” art that can be worn or used in some way. After covering the lid of the tin in a layer of off-white clay, I used rubber stamps to create a leafy background. For the dryad’s face, I used a silicone face mold as the base and modified the features a bit, including adding bark texture. To create the dryad’s hair and the leafy foreground, I used a combination of leaf molds (for some of the more elaborate leaves) and hand-shaped leaves.
I used pan pastels to color the raw clay in shades of green and brown. Pan pastels stick to raw clay nicely and allowed me to create the exact shades I wanted without spending hours blending clay colors. I used some metallic gold pastel to gild the high points. I suspected the artfully applied gold highlights on the raw clay would mostly wipe off when I applied subsequent layers of color to the cured clay. Which is what they mostly did as I was antiquing things with a wash of acrylic paint. It still left a nice glow though.
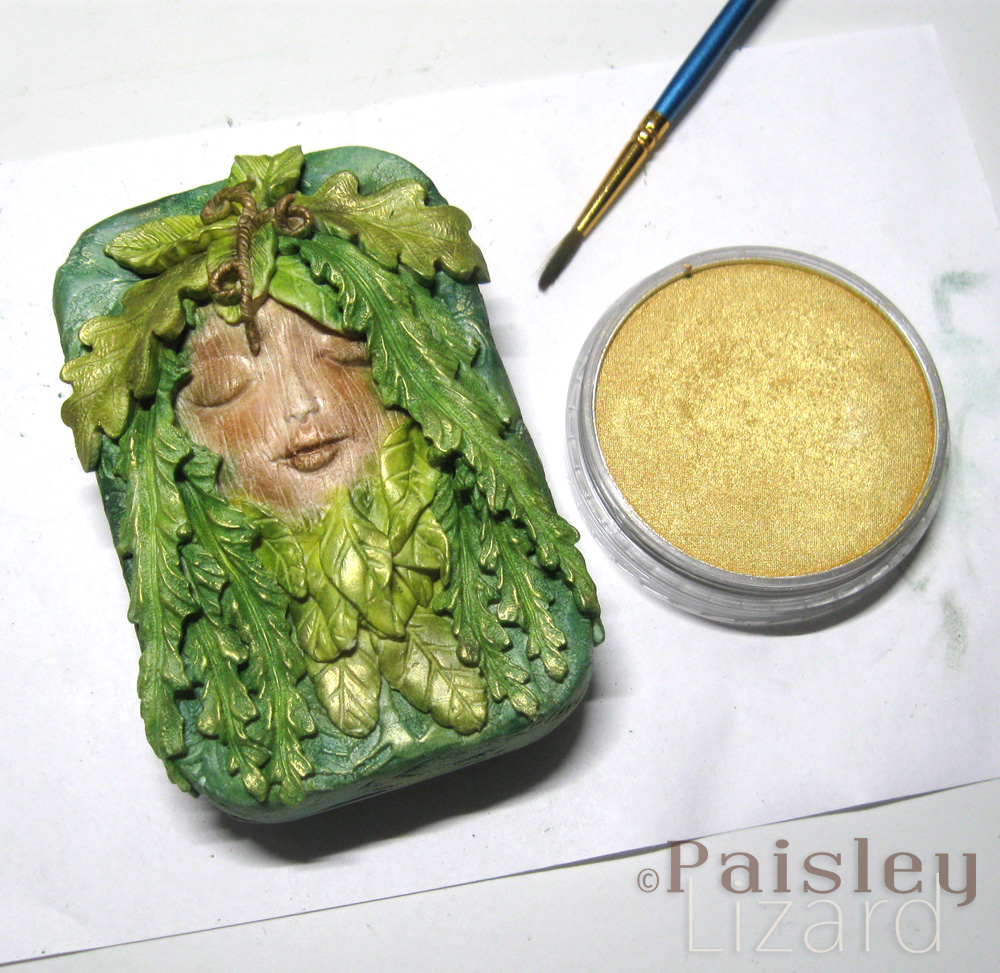
After curing the clay and using a wash of acrylic paint to emphasize the details, I dabbed a bit of Inka Gold paste here and there to partially restore the gilded highlights. Overall, I’m pleased with how the colors turned out. To seal all the colors and give the piece a nice shine, I added a layer of liquid polymer clay.
The Green Man tin was created in much the same way as the dryad, using off white clay and silicone molds for the face and some of the leaves. I’m still not great at sculpting realistic faces, but I’m getting better at modifying what comes out of the molds. Baby steps, I guess.
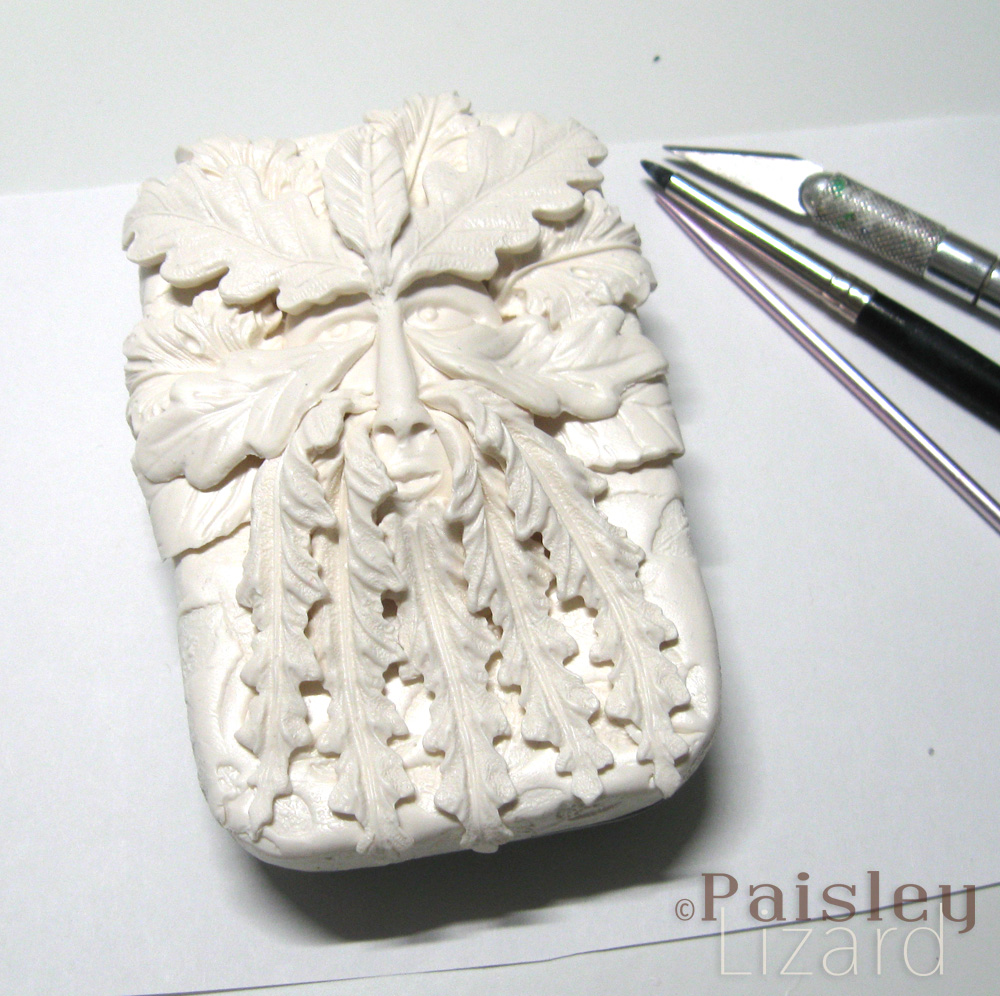
As with the dryad, I used pan pastels for the first layers of color on the raw clay. I waited to cure both tins at the same time. It’s summer, after all, and if I’m going to add more heat to my home by firing up the oven (hey, look, this story has a solstice fire, of sorts, after all) I may as well make it a full tray of clay.
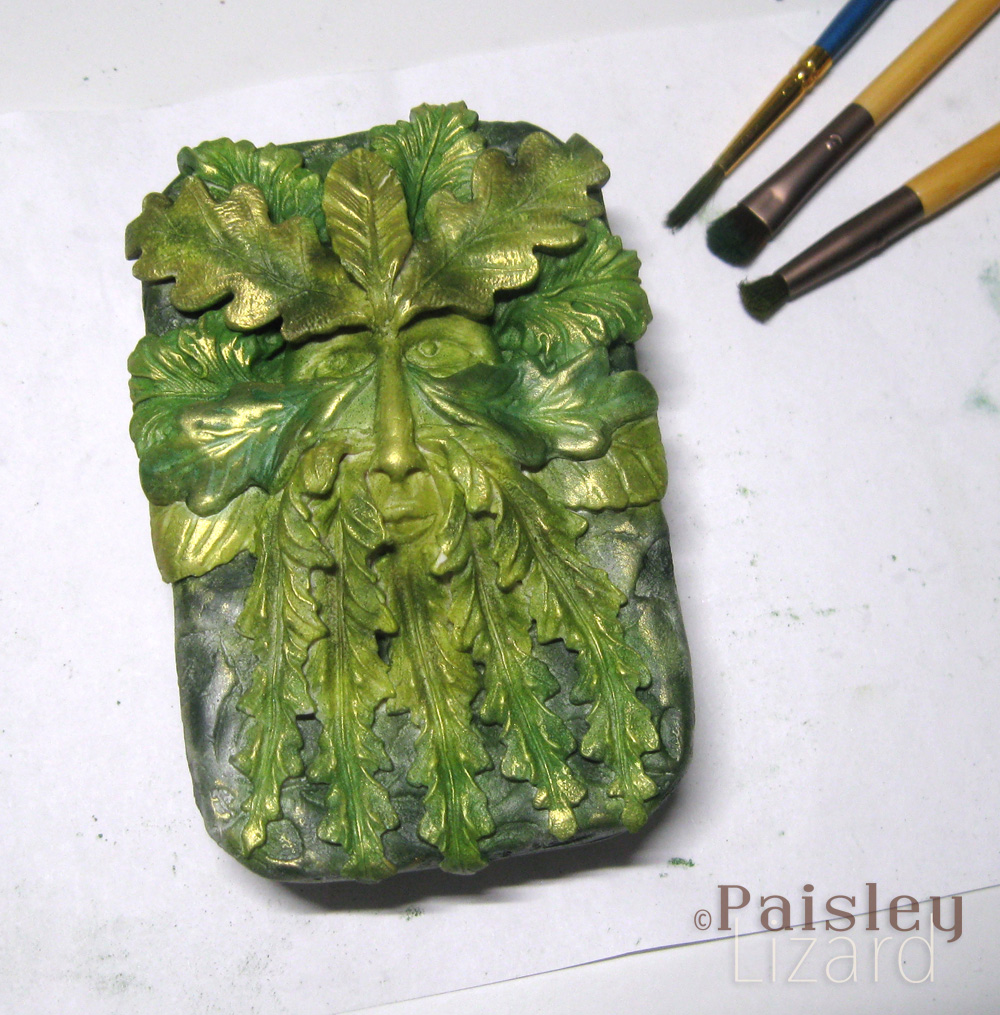
The Green Man tin got the same acrylic wash, Inka Gold, and liquid polymer clay treatments as the dryad tin. I look at both of them and see things I wish I had differently, like placement or shapes of leaves. But I also look at them and see something more or less resembling what I had in mind. And I do think the colors came out nicely.
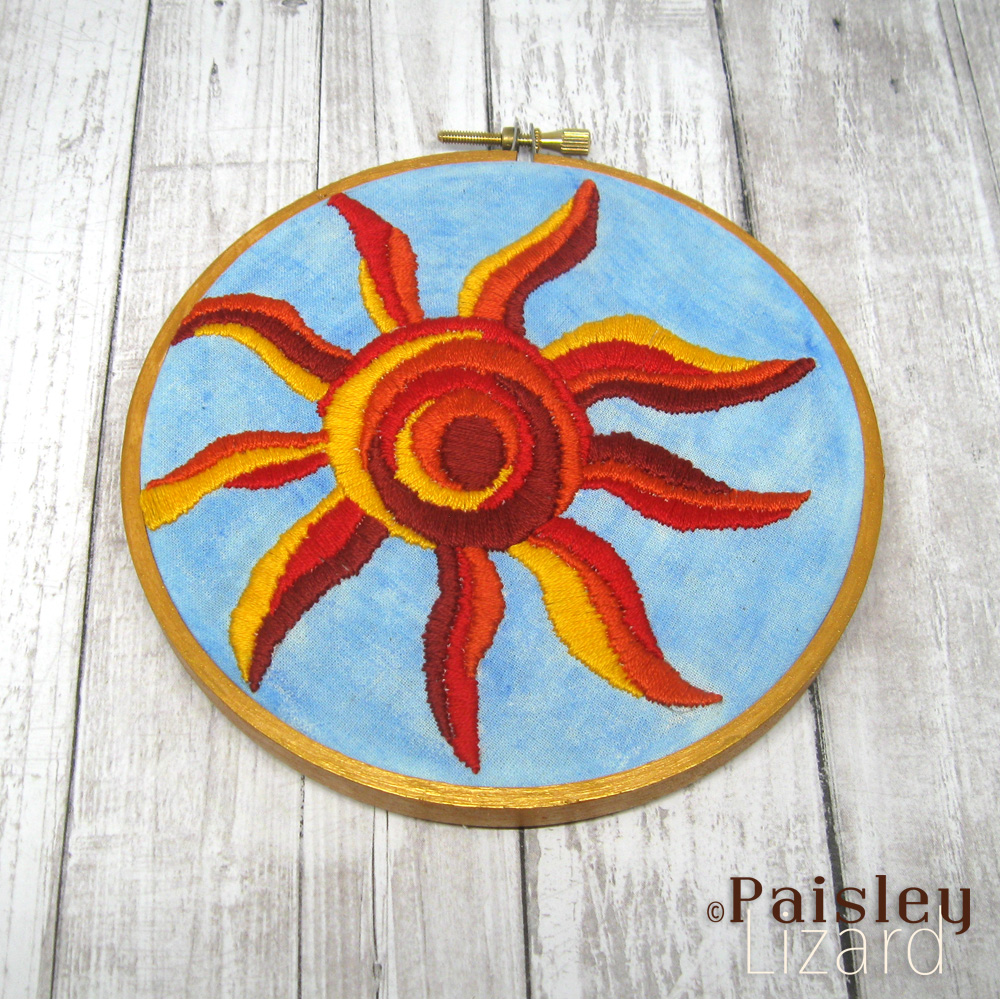
I also wanted to do some embroidery for this theme and was stumped for ideas for the first couple weeks. I mean, I had ideas but hadn’t worked out how I wanted to translate them into thread on fabric. There was some thought given to trying couching, which will wait for another day because the idea I landed on involved only satin stitch. While doing an image search on the interweb I collected mental notes on a variety of ideas. I didn’t think to make actual notes, I just had ideas loose in my brain. I think the one that inspired this project might have been a quilt pattern? Honestly, I can’t remember.
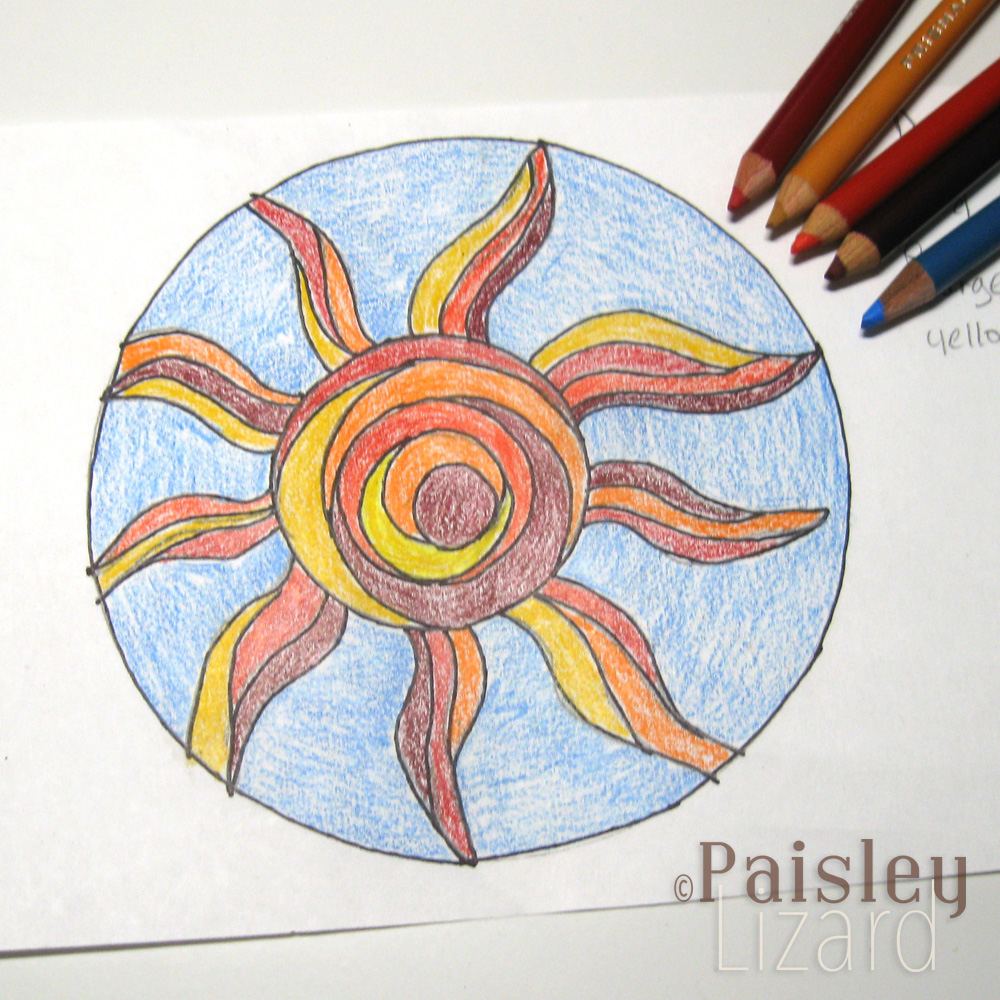
After settling on a color scheme for the stitching, I rummaged through my fabric and couldn’t find any in the shade of blue I wanted for my background. (This is a common problem with my bead stash as well: never the right shade of blue.). So I used Inktense blocks and fabric medium to paint a blue background on my fabric. True confession: I’m sort of glad I “had” to paint the fabric. It’s fun. You should try it.
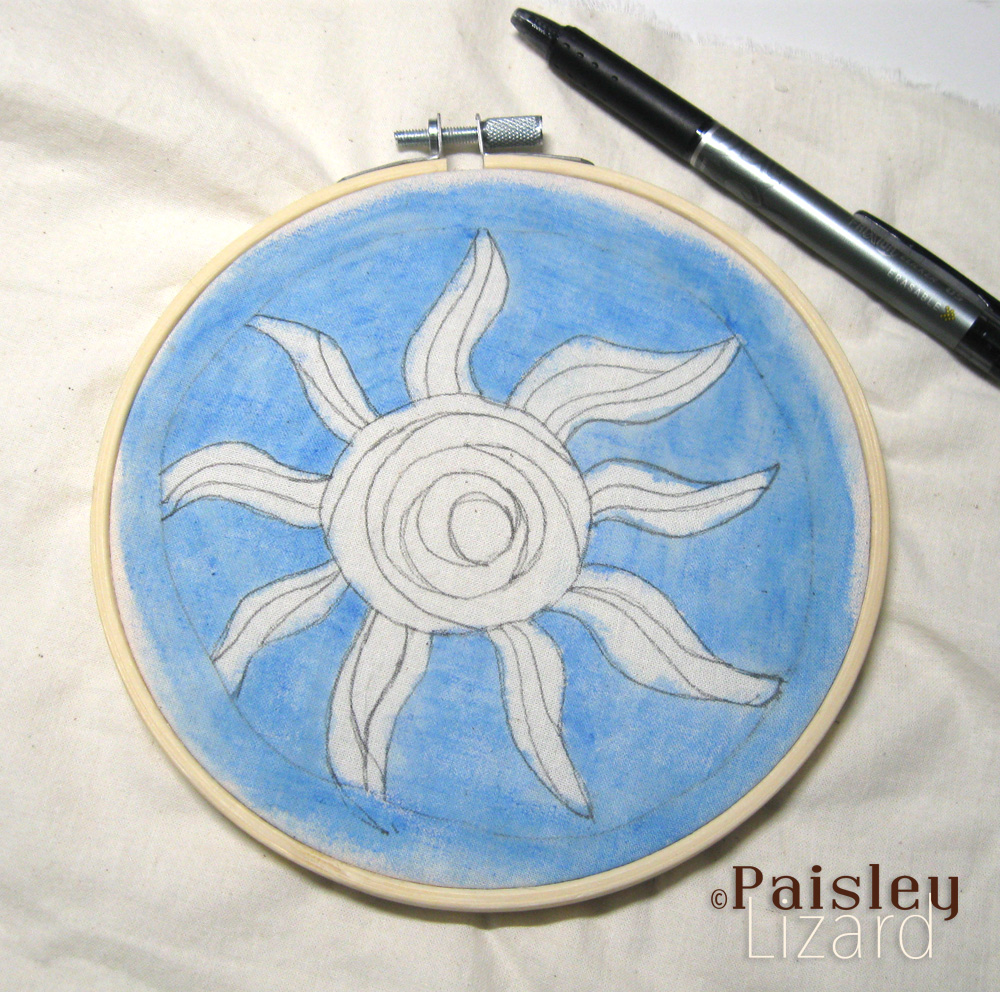
Here’s a funny story about the fabric painting and the heat-erasable pen. I transferred the outline of the sun onto the fabric with the heat-erasable pen and then painted the fabric around it. So far so good, the paint doesn’t disturb the ink and the ink doesn’t run. And then I grabbed my heat gun to set the fabric paint, as I have done in the past. You can see where this is going, right? Yup. I quickly realized my mistake but not before some of the pattern lines had disappeared. I had to re-draw some of the pattern and it’s no longer an exact match for the drawing. In hindsight, I probably could have popped the fabric in the freezer because cold can make the ink re-appear. But I didn’t think about that in the heat of the moment.
I thought there would be one more piece for this month’s challenge theme. I started sculpting a sun face in polymer clay over a little round papier mache box. I didn’t love how the sculpting turned out, but I painted it with pastels anyway. And then I really didn’t like it. There are no photos of this disaster, just a crumpled ball of white clay and a little round box stained with pastels in shades of red, yellow, and orange. I can re-use both the clay and the box, so all is not lost.
Here ends my solstice-themed art. Many thanks to the Art Elements team for another fun inspiration. Any many thanks to you, dear readers, for stopping by my blog today. Please leave a comment if the solstice spirit moves you.

All three pieces moved me! I can look at at them and get into a total meditation around them, beautiful! Thank you for sharing your art with us. ❤️❤️🥰🥰
Thanks so much, Donna. You’re making me blush. 🙂
I love the colors in the sun, but I’m totally in love with the Dryad and the Green Man! I keep thinking that one day I’ll make a Green Man, but I never had a good idea for it.
They are absolutely wonderful <3
Thanks so much, Cat. I’ve had “make a Green Man” on my list for ages. I could technically check that off now, but I would like to keep working on sculpting faces. So, maybe there’s another in my future.
Tammy, your detail in the Green Man and Woman is worth being noted!! The texture and colors are superb. Great job.
Thanks so much, Alysen. I admit to being pleased with how they turned out, especially the colors.
Love the green man and green lady tins. The tins will be great to use as couples ring boxes at a nature themed wedding and keep as a keepsake after that. “The heat of the moment?” Very clever and funny. If you feel that the sun is not popping out enough, you can give a wash of dark blue acrylic/fabric colour on the hoop edge and blend it to make it look as though the sun is glowing.
Thanks so much, Divya. That’s a good idea for those boxes. Maybe someone visiting my shop will think so too. And thanks for catching my ‘heat of the moment’ funny. ;). Your idea about the sun hoop sounds interesting. I’m not sure my hand is steady enough to paint around the thread without painting on the thread. But it probably would get the look I think I am after.
I love the Green Man and Green Woman that you made. You did a great job. Your embroidery is a wonderful. Well done!
Thanks so much, Kathy. 🙂