The theme for this month’s design challenge from Art Elements was turtles. As with every monthly challenge, we were free to chose the medium and interpret the theme in as many ways as we wanted. Or, more practically, in as many ways as we have time. A month may seem like a long time but it often goes by quicker than you’d think. Here are my turtle themed art designs for the challenge.
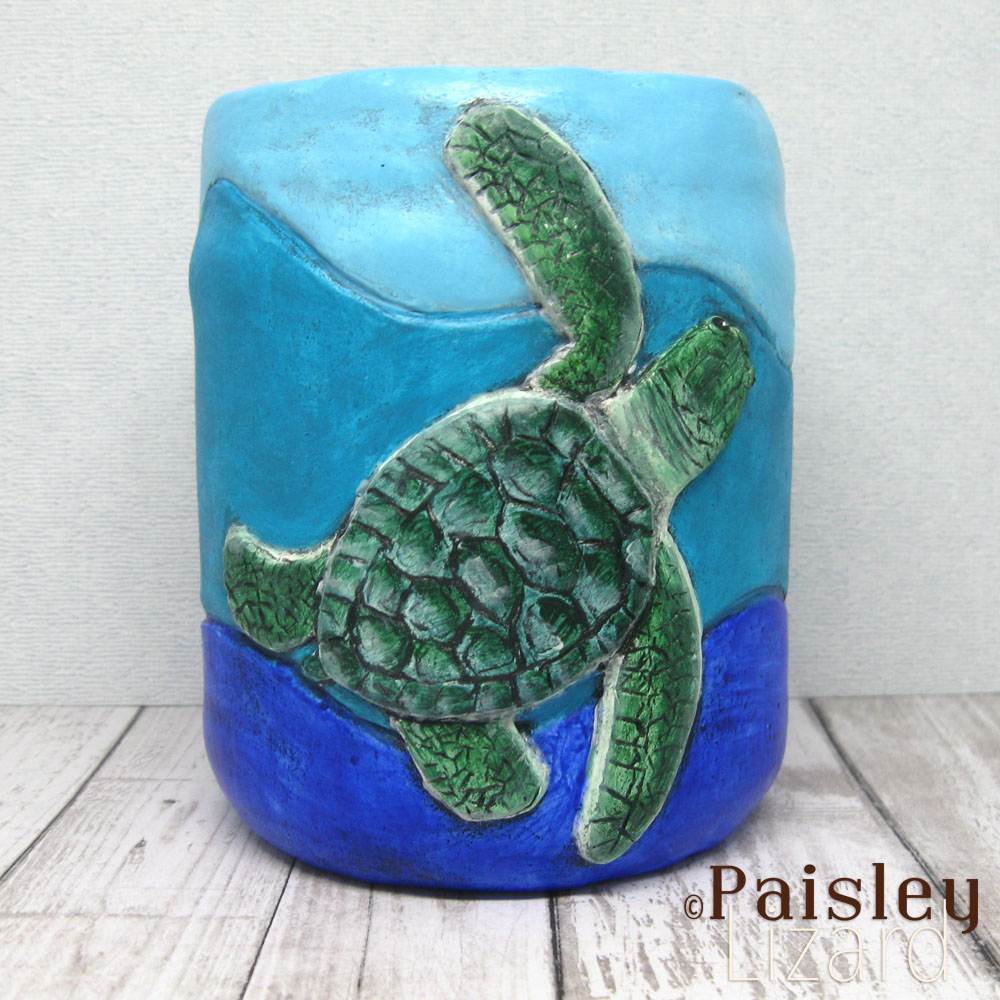
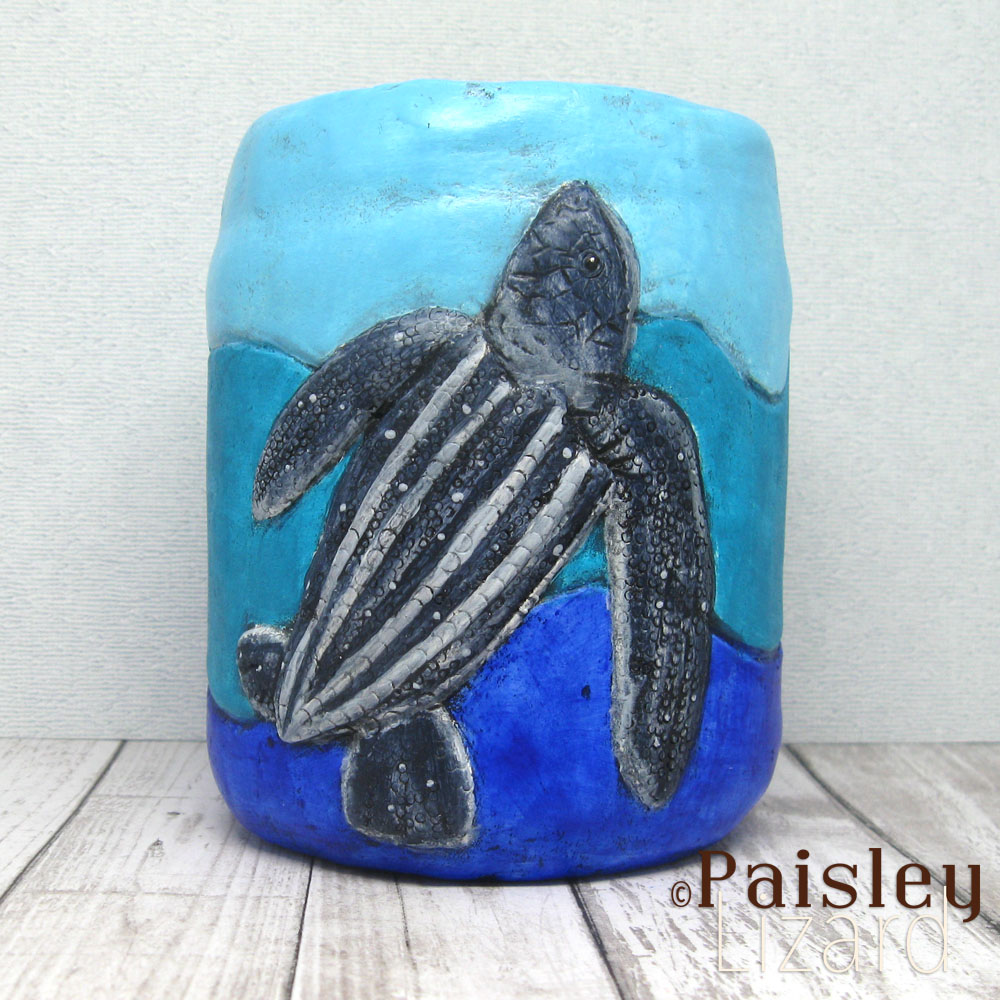
The first piece of turtle themed art I’m sharing for this design challenge was actually made months before the theme was announced. Earlier this year, I was feeling the presence of a turtle spirit guide, reminding me to persevere and it inspired me to sculpt some sea turtle hatchlings in paperclay. While I shared images of the sculpture on my social media, I didn’t blog about it. So I’m including it here even though it technically wasn’t created for the monthly theme. It’s my blog, my rules.
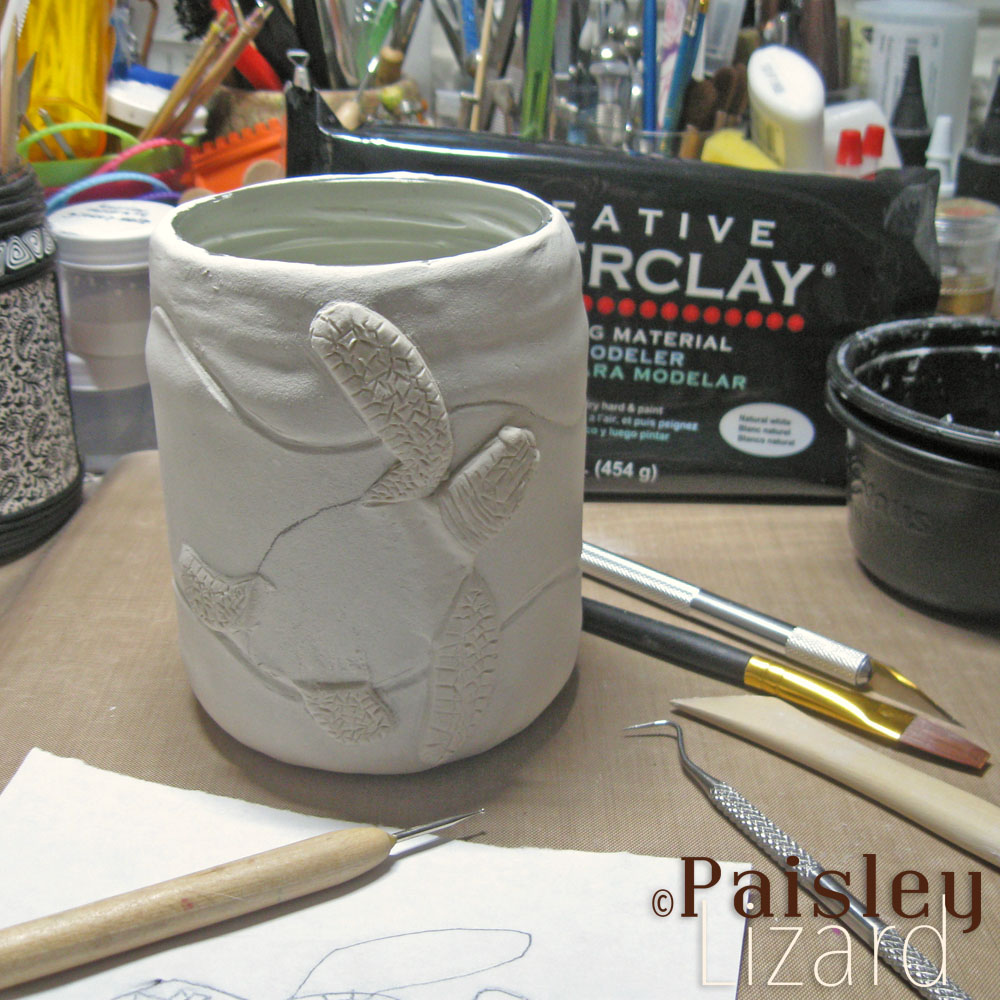
When I made this jar, I’d been working with paperclay for about two months. I’m still very much on the uphill side of the learning curve, but I am getting better about being patient with this medium. And myself. I miss working with polymer clay, and look forward to cooler weather when I can take that up again. But I’m also enjoying learning to work with paperclay.
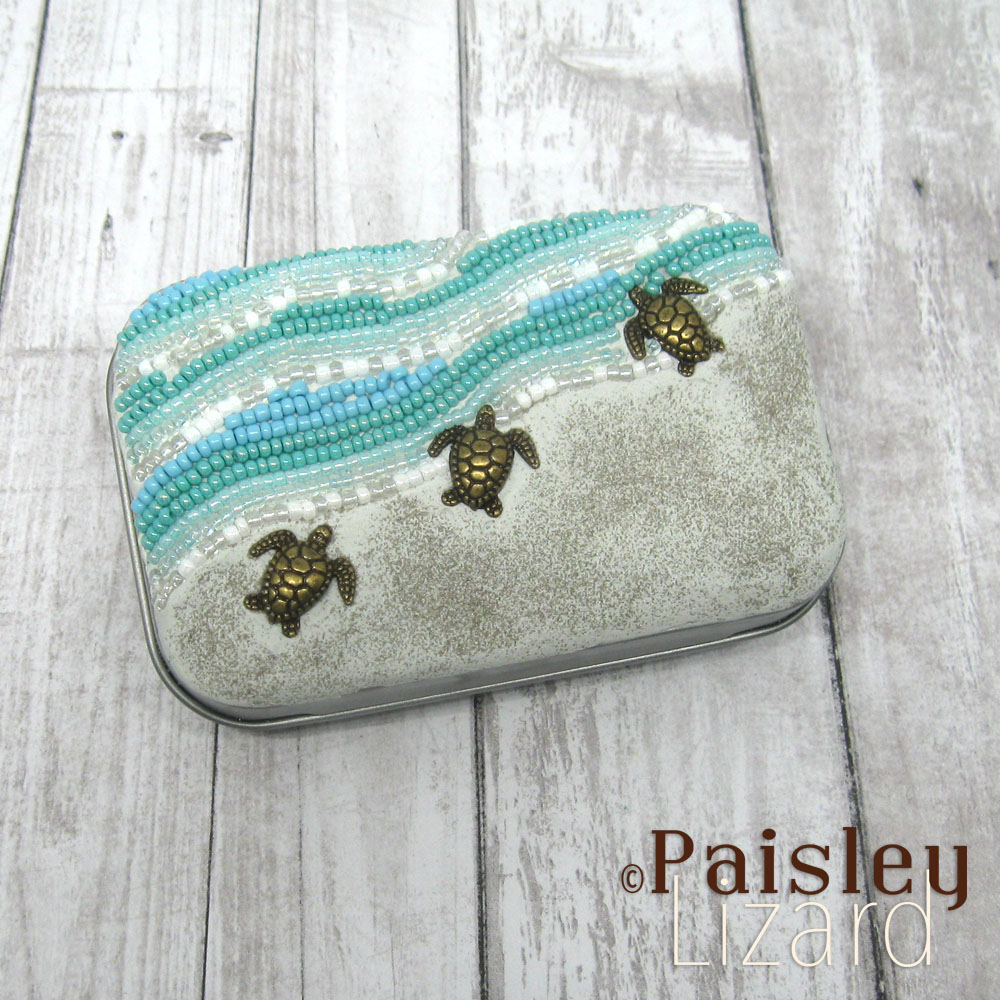
The first piece I designed after the challenge theme was announced was a micro mosaic using epoxy clay. I’m still avoiding purchase of new art or craft supplies. Because I have so much already. And yet, it’s never exactly the right thing when it comes time to create. In this case, I was wishing for different colors of beads. Also, the epoxy clay I have was less than ideal because I first opened it more than a year ago. Fresh clay would have been better because the older it gets, the more difficult it is to mix and the quicker it cures. I was definitely racing the clock to get all the components into the clay before it hardened.
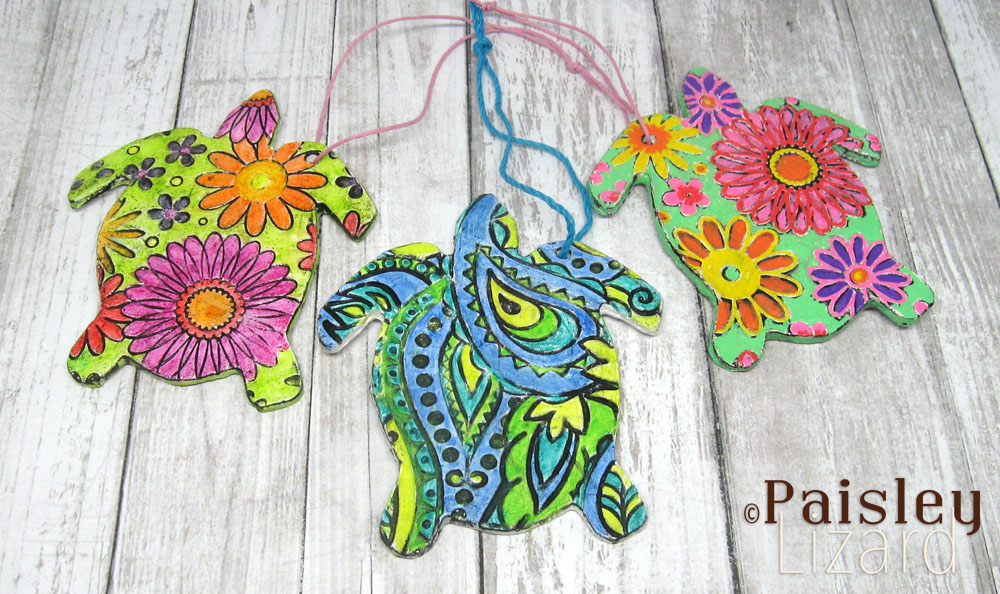
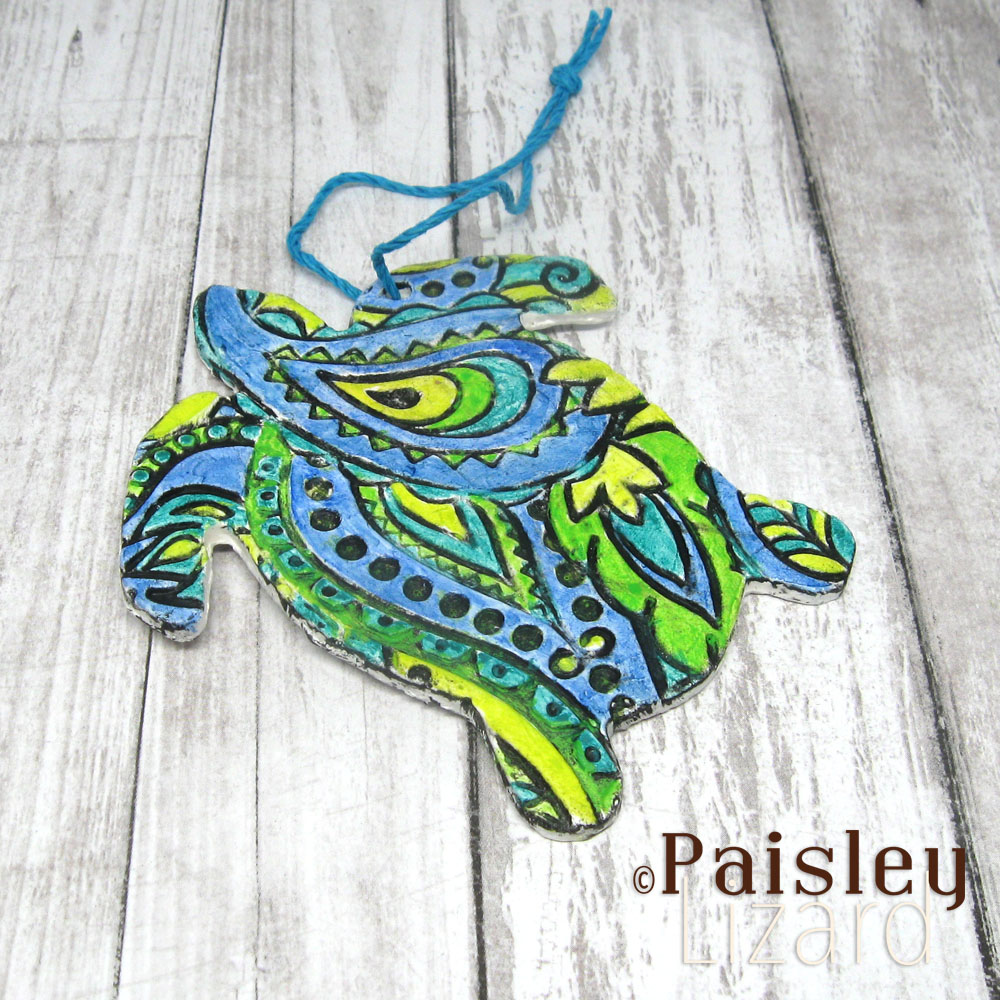
The final project for this month’s challenge was an experiment with paperclay. I know people use it to make ornaments and decided to make a few test turtles. They all dried without cracks, which was awesome. They each also warped a little as they dried, which was less awesome. It doesn’t detract from their appearance or function. But I am pondering how to get future ornaments to dry flat.
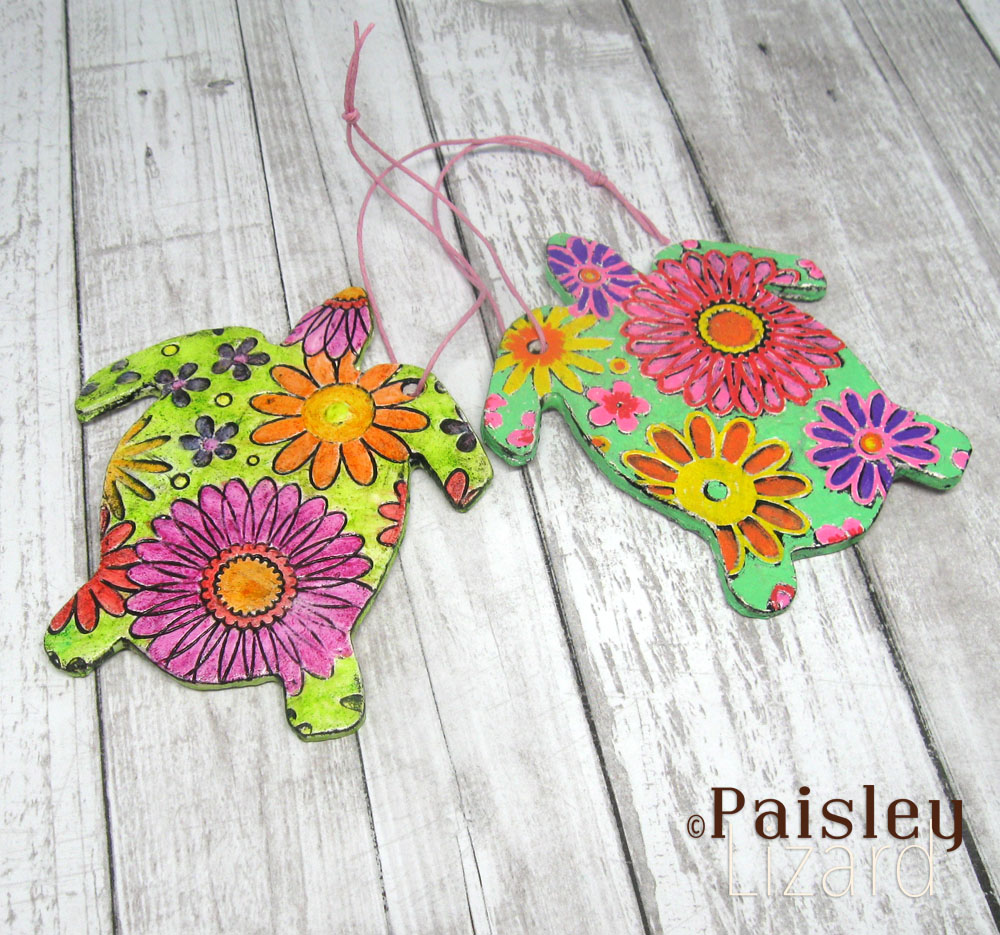
The other part of the experiment with these test turtle ornaments was using Inktense ink pencils and Posca acrylic paint pens to add color. I’ve used both on polymer clay and was reasonably sure they’d work on paperclay. In the case of the paint pens, I got a very opaque color coverage, which was expected. With the ink pencils, it seems as if the ink doesn’t dry. It’s not supposed to be re-wettable once dry. And yet, when I went to brush on a layer of gloss medium, the color lifted and moved. I’ll note that before painting, I treated the cured paperclay with layers of gesso and gloss medium. Maybe the undercoat of gloss medium keeps the ink from drying?
There was supposed to be an embroidery project this month too. I’ve been neglecting my stitching and thought I would try a painted turtle for this design challenge. Alas, I got distracted by shiny objects – or maybe books – and never even started a hoop. There’s always next month. Thanks so much for stopping by my blog today. I hope you enjoyed the turtle themed art and the time you spent here. Please leave a comment if the spirit moves you.
The beaded landscape on the tin has inspired me.