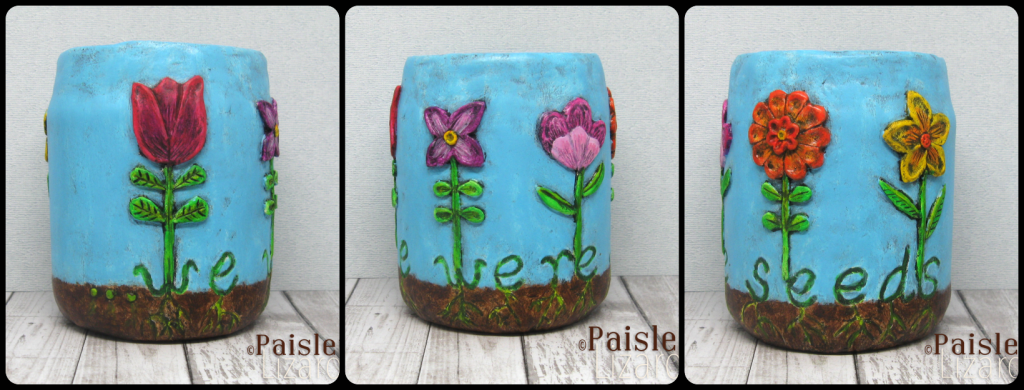
Last month I shared my initial impressions of air dry paperclay as a new-to-me medium for sculpting. Two of my first three pieces found homes right away, which is a measure of success I can’t claim for my polymer clay sculpting. Overall I found paperclay easy enough to work with that I’ve spent another month creating with it. I can’t say I’ve fully put paperclay through its paces to get a thorough understanding of what it can do. But, I do have a slightly better grasp on what I can do with it, at least in terms of covering glass containers.
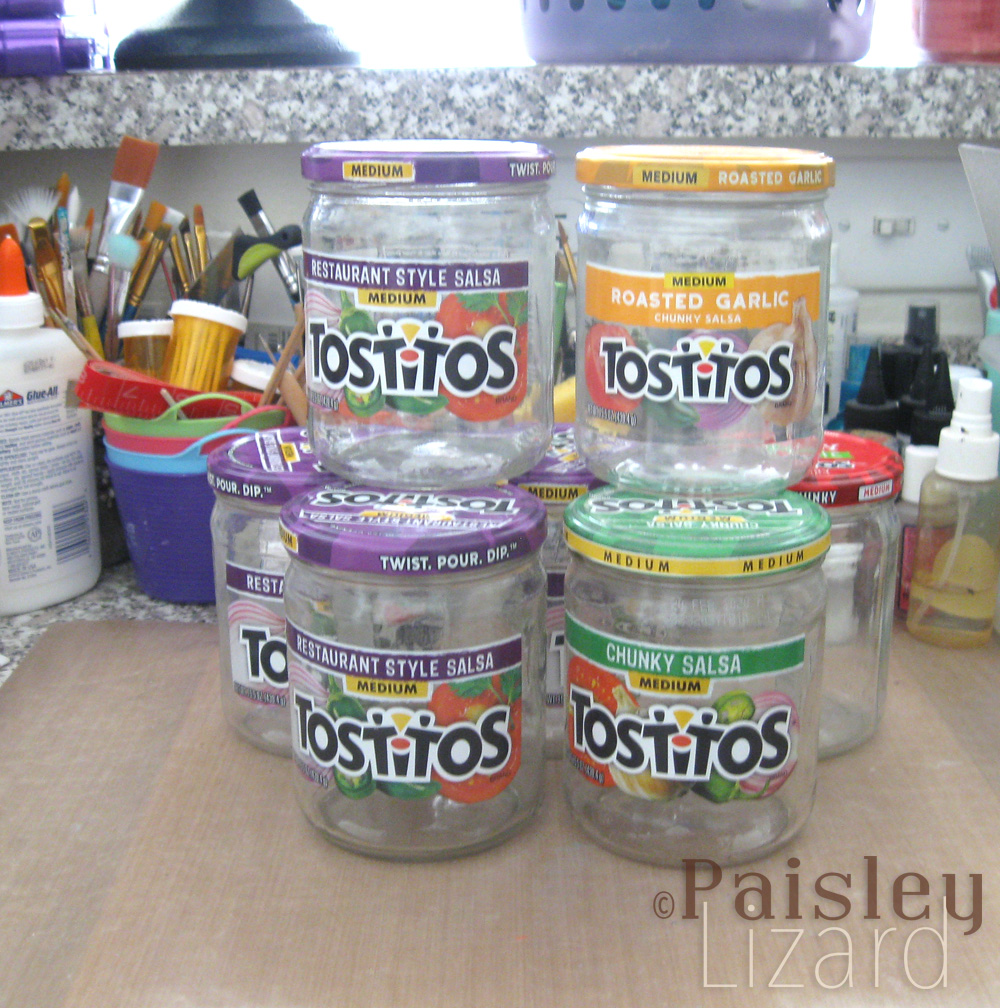
Why have I focused on covering glass containers with paperclay instead of making free-standing 3-D sculptures or even bas relief sculptures on flat surfaces? Well, I have a small problem regarding saving glass jars. Okay, it’s a big problem. I am nearly incapable of getting rid of glass containers once I’ve consumed their contents. And so, I have a not-small collection of glass jars just begging to be upcycled into art.
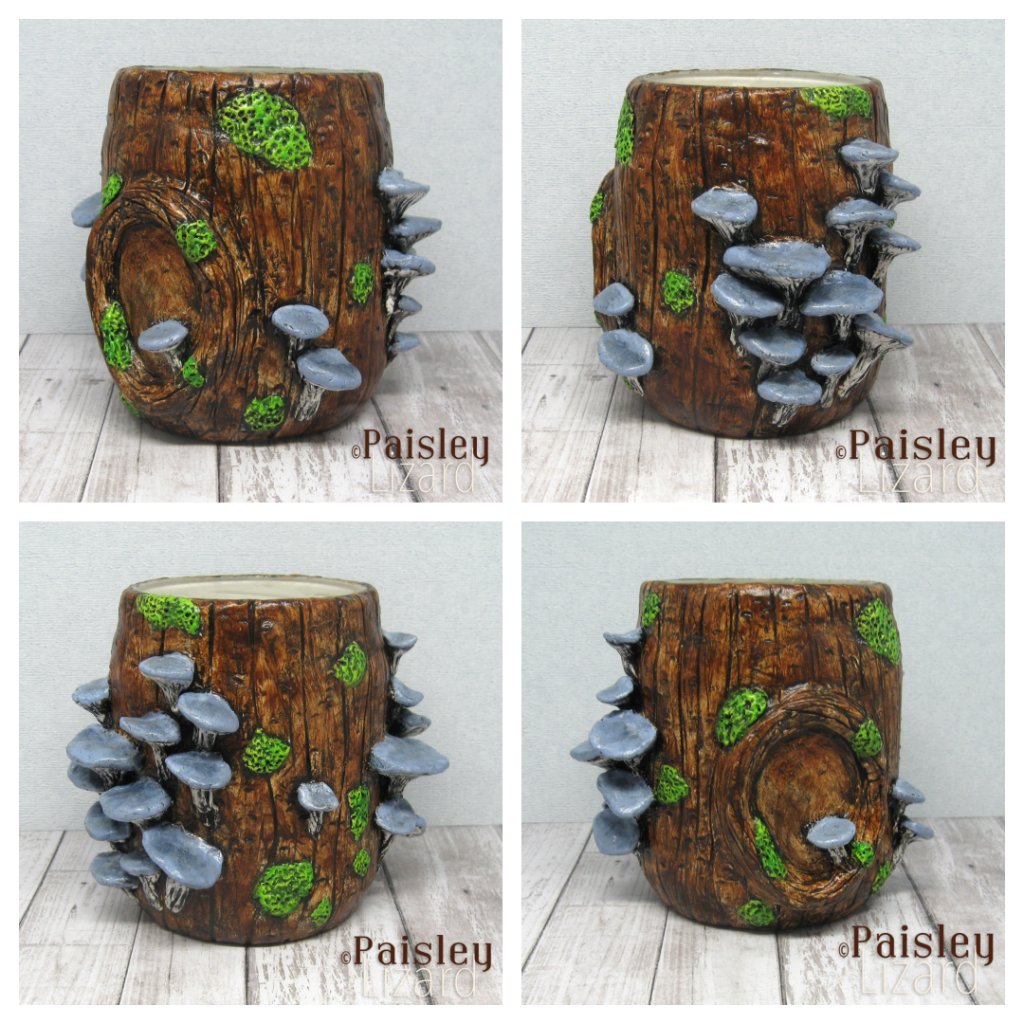
One of the pieces I created this month is a slight revision of a design from last month. The tree stump with blue oyster mushrooms was claimed by a friend (who is still patiently waiting for me to take it to the Post Office) and then someone else asked about buying it. I don’t often revisit a design, mostly because I have too many others I want to try. But, I did wish I had done a few things differently with the first jar, so I saw this as an excuse for a do-over. The changes aren’t huge, and mostly consist of a few more mushrooms, including one in the hollow. And I made the moss patches larger this time.
The second piece I created this month was inspired by a quote about resilience. I don’t remember where or when I first read it, but I saved it in my ideas book (which some people call a sketch book, but I don’t sketch so much as make notes about design ideas). I don’t know the origin or attribution of the quote. I asked Google and it led me down too many rabbit holes. So please forgive me for attributing it to “unknown” here but Google is not necessarily the definitive source for fact checking.
They tried to bury us. They didn’t know we were seeds.
~Unknown
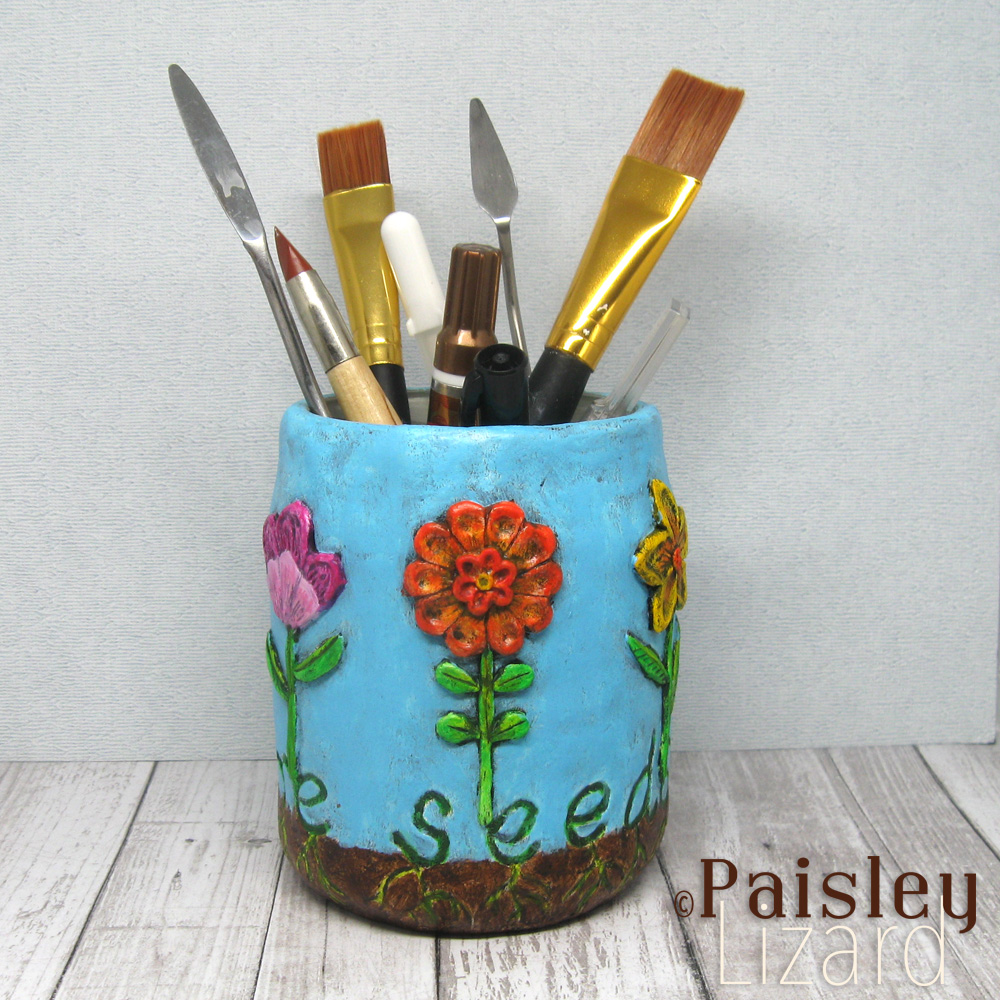
I didn’t use the entire quote in my upcycled jar project, just the last three words. I think anyone familiar with the quote, or with whom the quote resonates, will know the rest. In my ideas book, I noted the words would have roots in the soil and wildflowers growing from the tops of the letters. There were a lot more flowers, with a lot more realistic detail, in my idea than in my execution. I simplified the design by reducing the total number of flowers to one or two per word instead of one per letter. And the flowers are more folk-art than realistic.
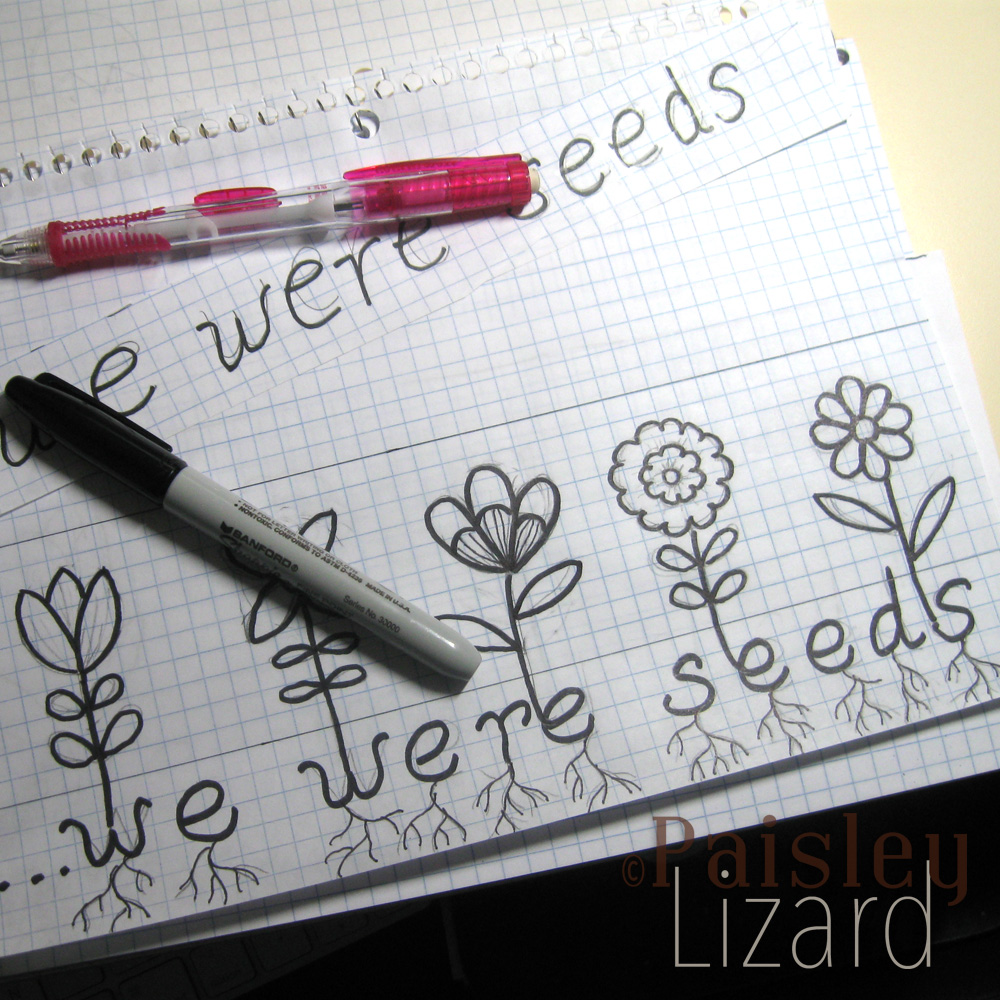
To create the design in paperclay, I covered a gesso-coated glass jar with a sheet of clay and then used a ball-end tool to impress the words and roots. I also lightly marked in where the flower stems, blooms, and leaves would go. I turned the ellipsis in the partial quote into seeds with the beginnings of roots. If I were to do this one over – and there’s a chance I may – I think I might add the beginnings of shoots breaking through the soil from their tops.
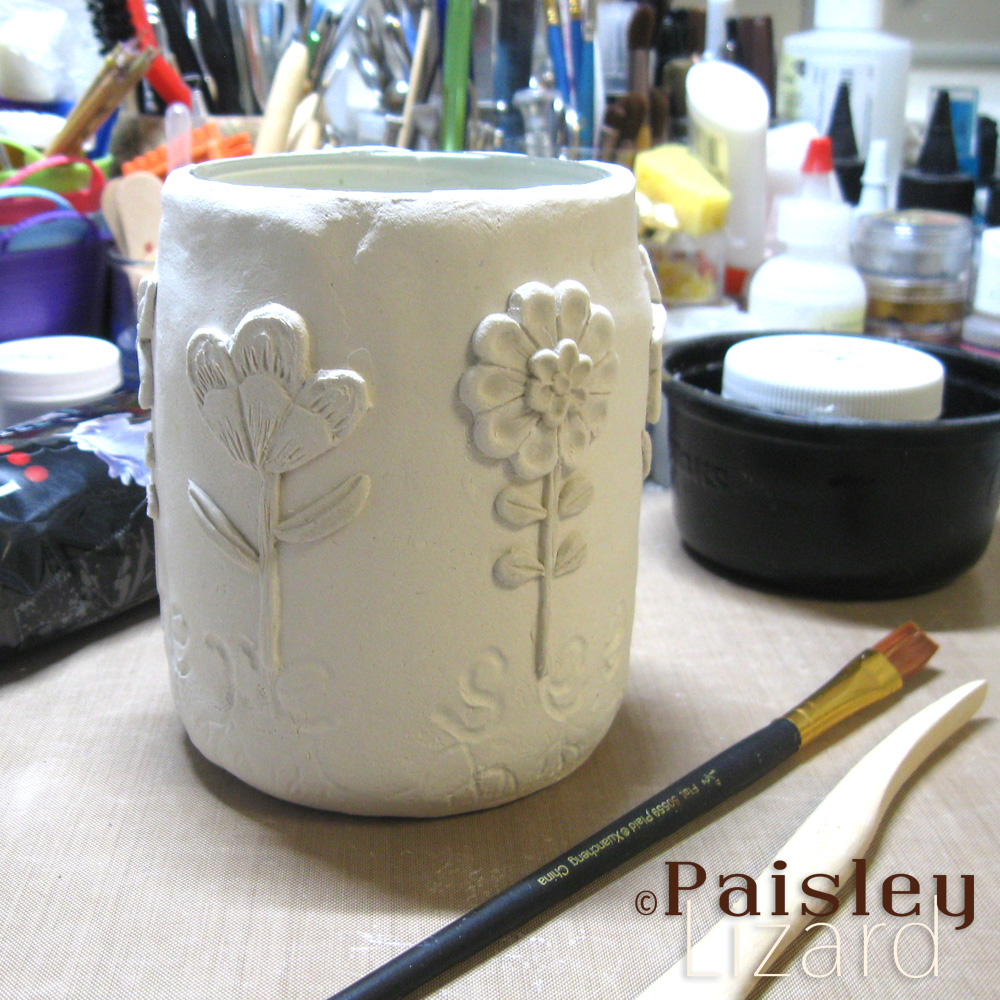
After the base layer was speed-dried in the oven, I added the flower blooms, stems, and leaves. I used cutters for some of the flower blooms, because I have an assortment of cutters in my polymer clay supplies. Others were cut from clay with a craft knife after first tracing them from my sketch. The stems and leaves were “free-hand” cuts from a thin sheet of clay. After applying the flower parts to the base layer, I used a ball-end tool and a sculpting tool that I don’t know what it’s called (but you can see it the photo above) to add dimension and texture details to the clay.
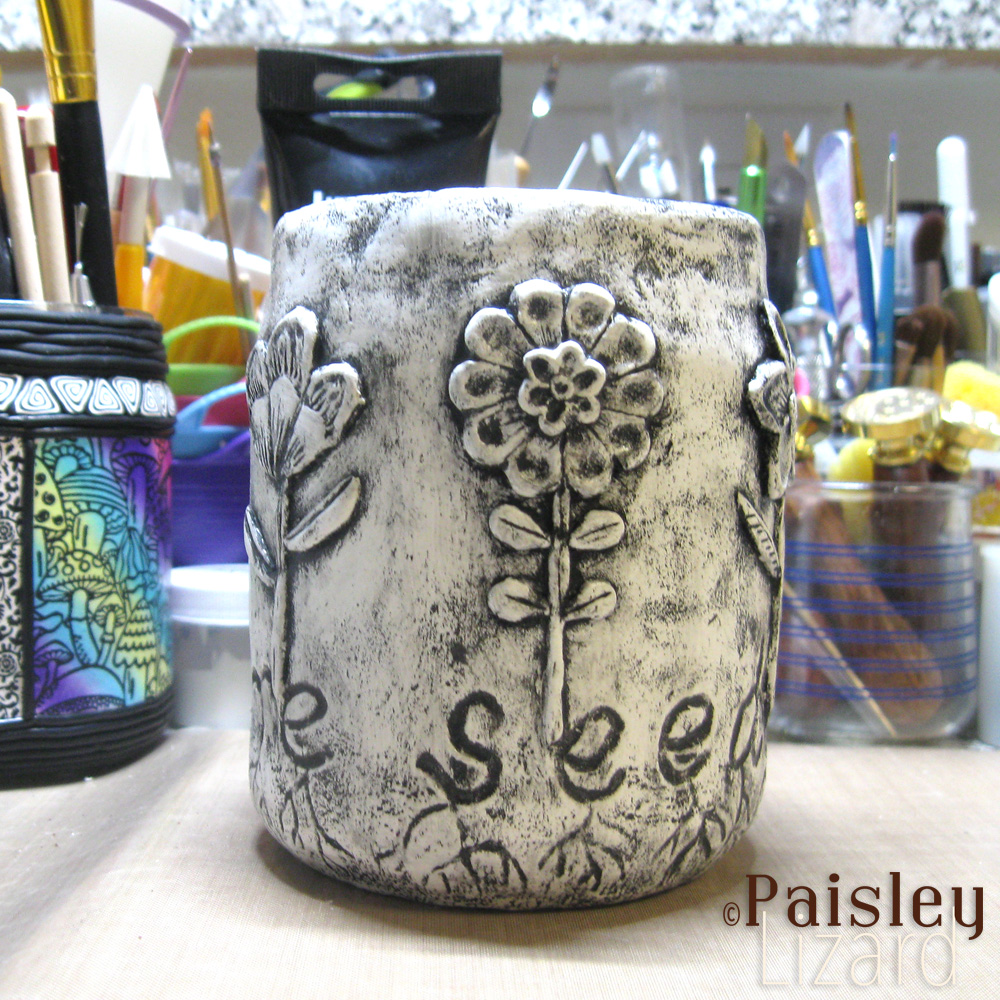
Once the flower layer was speed dried, I primed the jar for painting with layers of gesso and gloss medium. And then I turned the whole thing black with a wash of black acrylic paint which I left to dry overnight. The next morning, I removed most of the black wash using isopropyl alcohol. This method of applying a wash to accent texture and details is from a book I bought last month. It’s a bit more tedious and time consuming than the brush-on and immediately wipe-off technique I usually use with polymer clay. But it does seem to stay in the crevices better and I like the overall sort of graphic effect I get from accenting the texture in the background as well as the foreground details.
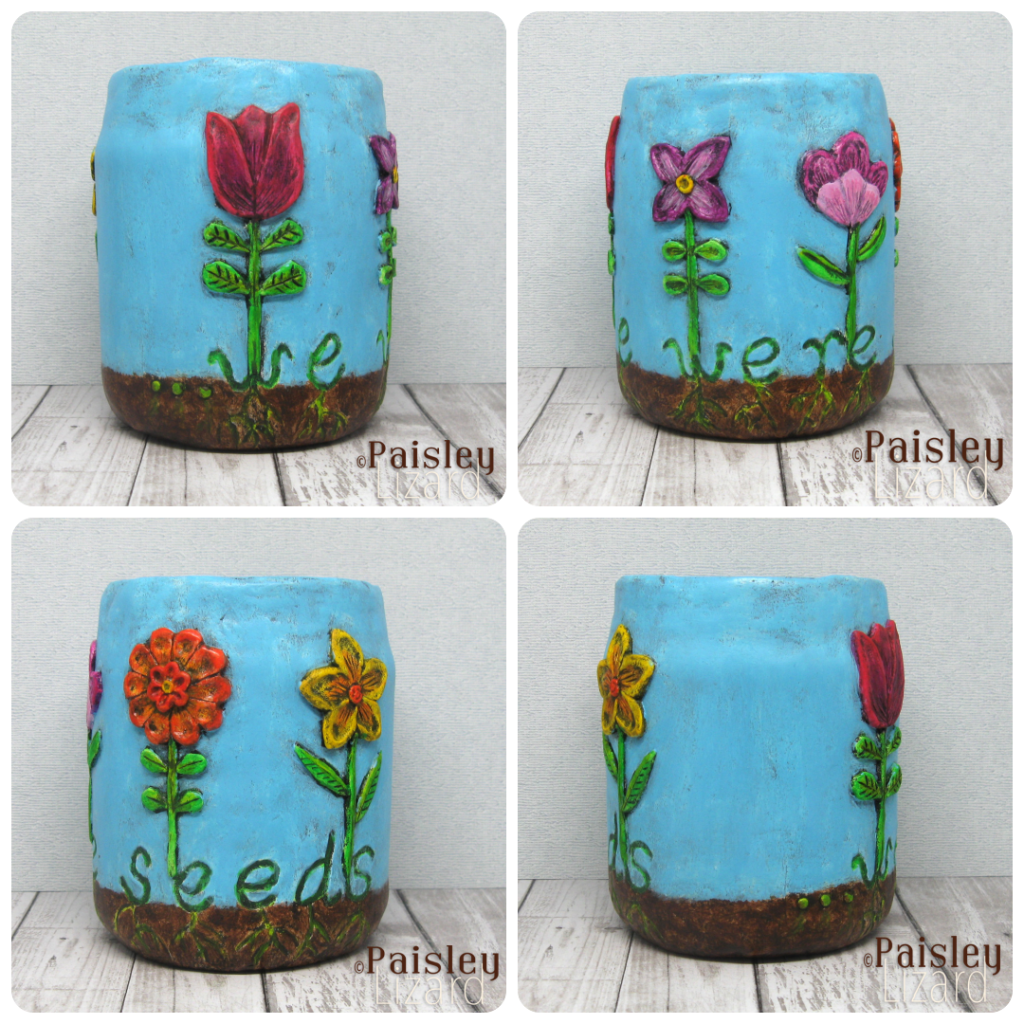
Painting the flowers and background was a little challenging given my poor brush control. I painted the flowers first and then the background. I ended up getting some of the blue sky background color on the edges of the flowers and leaves. When I attempted to touch up the flowers, I got flower-colored paint on the blue sky background. Lather, rinse, repeat. After about the third round of that, using increasingly smaller brush tips, I surrendered to the inevitable.
I don’t have any insightful comments or helpful tips about working with paperclay after my second month experimenting. What I do have is a box of glass jars, several more packages of paperclay, and pages of design ideas. So, watch this space. Also, I did manage to score some fresh polymer clay a couple weeks ago. If I plan well, I can work polymer clay projects in while waiting for layers of paperclay and acrylic paint to dry. And use the residual heat in the oven from curing polymer clay to speed dry paperclay.
Thanks so much for stopping by my blog. I hope these projects have brightened your day. Please leave a comment if the spirit moves you. And if you want to see more photos of my work – including works in progress as they happen – and with fewer words attached, you can follow @PaisleyLizard on instagram.

I’m enjoying your exploration with paper clay/paperclay! I’ve seen it and wondered if it was complicated to use. I’m glad to have your hints to work with. Thanks!
Thanks so much, Sylvia. I would say it’s definitely not complicated to work with in that it doesn’t require special tools or equipment to handle it. What it does require is some patience, both while waiting for things to dry and in knowing you may have to patch cracks once they do dry.
I use paper clay and foam clay quite a bit…love your exploration of this medium! You mentioned drying in the oven…at what temp do you do this? I didn’t realize you could oven dry it, as well as air dry it.
Thanks so much, Debora. I set the oven at 200 degrees F and put the jar in for about 20 minutes. I left the jar in there for about another 30 minutes while oven cooled. Because why waste the heat, right?