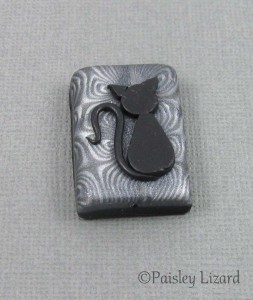
 I’ve been planning a blog hop for this fall and wanted to make some beads to give away for it. The theme is “Superstition” and the blog hop reveal will be on Friday, November 13th. So, what better image to put on my beads than a black cat?
I considered quite a few different ways of making the beads, all involving polymer clay. The variation was in how to make the black cat, what shape to make the beads, and what color. The color and shape were the easiest to resolve. Making the cat part was a bit more challenging.
In the end I went with a simple silhouette of a cat. If could have found a cutter or mold in the right shape and size, things would have gone much quicker. I searched but didn’t come up with anything I liked. I also considered image transfer and stamping. But I didn’t have the right supplies and was getting impatient with myself to just make the beads already.
I did use cutters to make the cats. But not a cat-shaped cutter. For the cat’s body, I used a teardrop shape and cut off the tip. The head shape was cut with a small round cutter. The ears were the most vexing part. I do not have a teeny weeny itsy bitsy triangle cutter. So I improvised by cutting the points off a larger triangle shape. The tail is a thin snake rolled out by hand.
After making a prototype to test how well the sizes of the cut out shapes worked together, and to get an idea what size to make the bead base, I went into production, which was a new thing for me. I don’t usually make a batch of focals – because I don’t make components for sale, I make them as needed for my own designs.
I knew I wanted a neutral background for the beads. That way people could add them to jewelry designs in any color palette of their liking. And I wanted to play with the new Graphite Pearl Premo released by Sculpey earlier this year. I decided to pair it with Silver Premo and Pearl Premo.
I made a swirl cane but after I reduced it, I realized the three shades of Premo were too close together. The distinction between the dark gray, silver, and white was lost as the cane got smaller. On a whim, I cut the cane in half lengthwise and found an even better pattern.

These are some of the beads I made from the misdirected swirl cane and scraps. I hope I can remember how to get this pattern again. It’s trippy.
I also made my first mokume gane block, using the same three colors of Premo. And discovered that all of my blades are dull-ish. I knew making thin even slices would be a challenge. The challenge is magnified with a dull blade that drags. Even so, I think it turned out pretty well.

These are the usable slices from my mokume gane cane. I quite like this technique and think I need to explore it further.
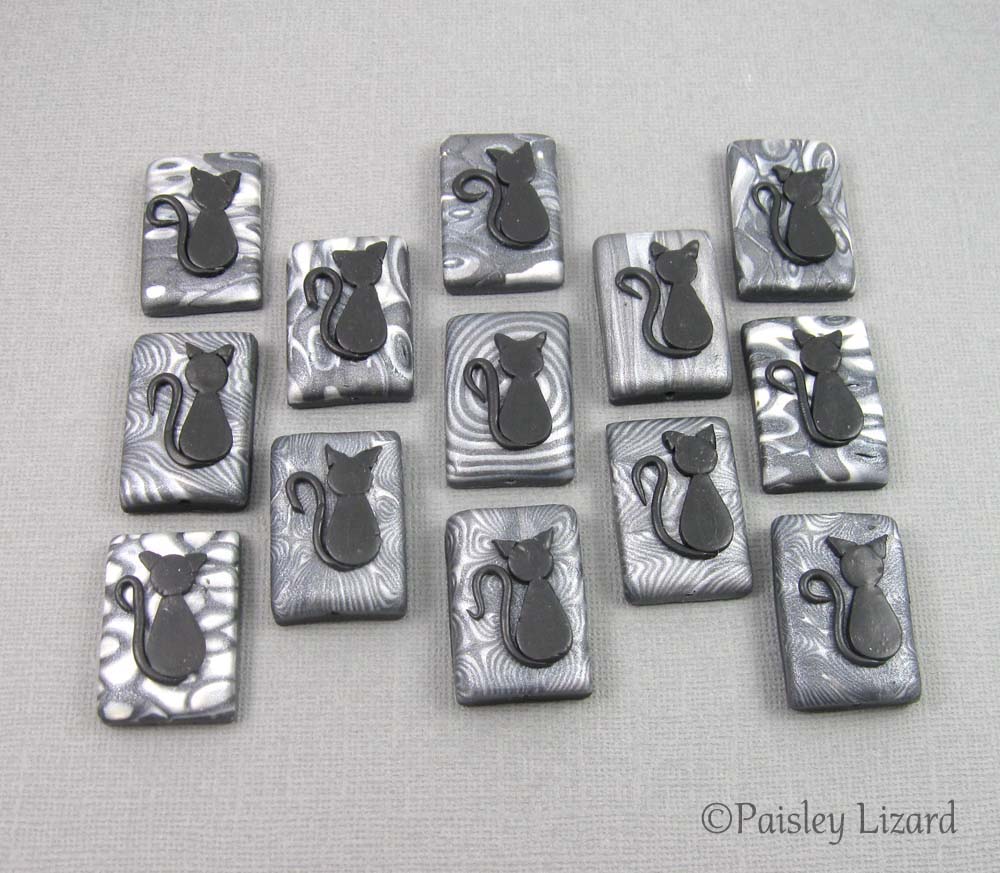
Between the misdirected swirl cane and the bits of mokume gane, I had enough pattern to make the 13 beads I needed for my blog hop give-away. I actually ended up with more than I needed, but some were too thin to drill a center hole. They can be used as cabochons or pendants.

These are 13 of the Lucky Black Cat beads I made for the Superstition Blog Hop. Each one has a different background pattern and each cat is a little different.
Each cat turned out slightly different. Especially in the ears and tail. I do not have the fine motor skills necessary to manipulate little bits of clay. I felt like a T. rex trying to eat with chopsticks as I picked up the ears and tried to place them in the right spot. And boy, were those tails uncooperative when it came to coiling the tips. I do not know how people who make those gorgeous applique patterns in polymer clay do it.
Of course, I had to use up every last little bit of the cane. The odds and ends that got cut off as I used the rectangle cutter to shape the bead bases got turned into some awesome marbled beads.

The scraps of cane that resulted from cutting out the rectangle beads became marbled round accent beads. I’m really diggin’ that Graphite Pearl Premo clay.
All in all, I’m quite pleased with my Lucky Black Cat focal components. And I’m very excited for the blog hop this fall. I’ll be posting the details, and a sign-up form, on August 13, 2015. The first 13 people to leave a comment on that post (not this one, the one on the 13th) and sign up for the hop will win one of these beads. Will you be one of the lucky ones?


Ahh sounds awesome I hope I’m one of the lucky 13!!!
Thanks, Betony. Fingers crossed. 😉
These are really cute cats, and what pretty background pieces they are on! I’ve never worked with PC before, I’d love to learn ssomeday. Your process is fascinating.
Thank you, Renee. Polymer clay is a very easy medium to learn the basics. You can work your way up to very complex things, and you can also have a lot of fun as a “beginner” making beautiful things. You don’t need expensive tools either.
Love those beaded cats! Plus I love the number 13!!!
Thanks, Beth. It’s one of my favorite numbers too.
Splendid problem solving. Wonderful beads. BTW, if you have some 600 or 800 grit wet dry sandpaper you can restore your blades to sharpness. Simply wet the sandpaper and put on a super flat surface, a ceramic tile or your glass cooktop work well. Hold the blade at an angle to your wet sandpaper and drag it across again and again until it feels smooth. Flip it to the other side and repeat. If your blade has nicks, they will remain, but it will at least be sharp. Dry the blade immediately.
Thanks so much, Susan. And thanks for the tip about the blades. I will definitely give that a try.
These beads are terrific Tammy! I love them and appreciate the trials you went through to create them. Wow! I want in this one, LOL. 13 is my lucky number!
Wonderful job!
Also on http://www.jewelrybecause.com/#!robin-showstack/crxb
I love them. I hope this is where I sign up too! I would love to be
included in your hop. They came out so great and I have lots of
ideas swirling in my head!
Robin